Luxury Vinyl Plank Tile Flooring
Luxury vinyl plank tile flooring is a lot of words to say LVT plank flooring.
In truth, the almighties at Google love words and different way to say words so bloggers have to “word it up” in posts. Ha!
I would much prefer to peck out a hundred words for this DIY post and call it a day, but I have to hit at least 300 words or Google will punish me by placing this post on the 5th page of “lvt” search results and we know ain’t nobody gonna see it. 😉
Alright, let’s get down to business and the real reason you are here! You are putting in new flooring or at the very least researching the best flooring option for your home.
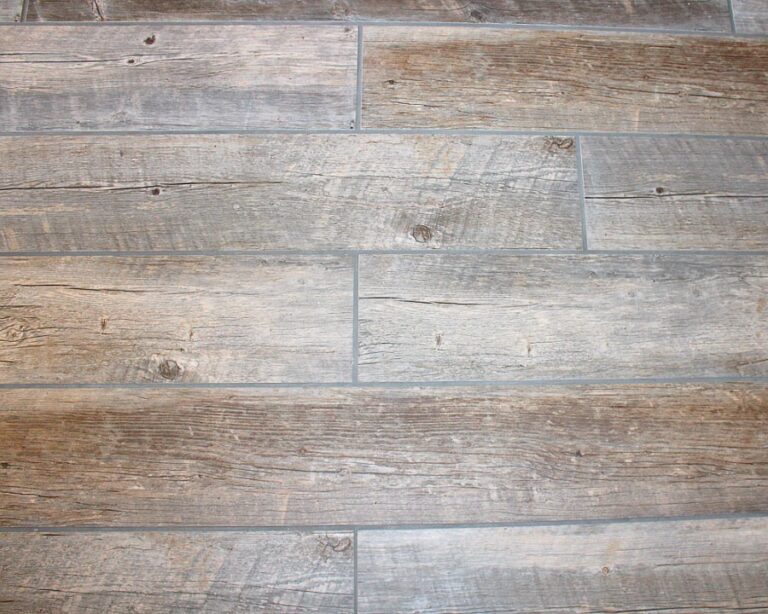
I can honestly tell you that these luxury vinyl planks from Lowes have been the best flooring decision we have made to date.
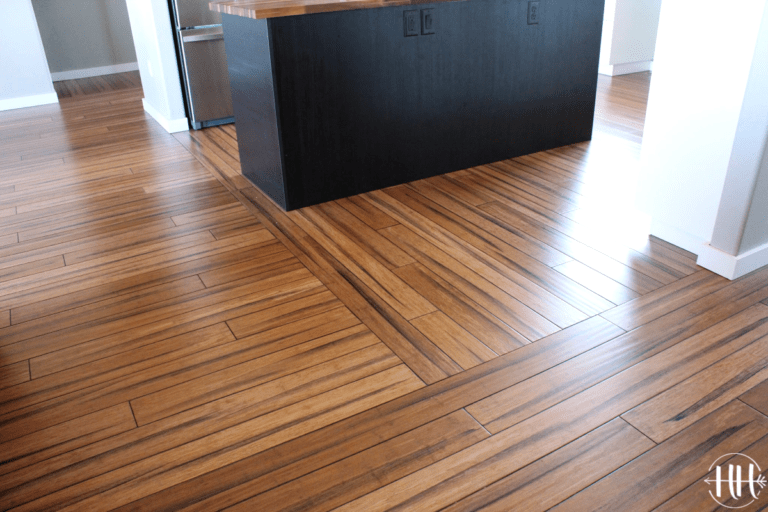
Don’t get me wrong, I love our Lumber Liquidators Antique Strand Bamboo Wood Flooring and porcelain tile in our master bath, but I have been pleasantly surprised for the past 3 years (ya, it’s take me that long to get this post written) with how well it has held up.
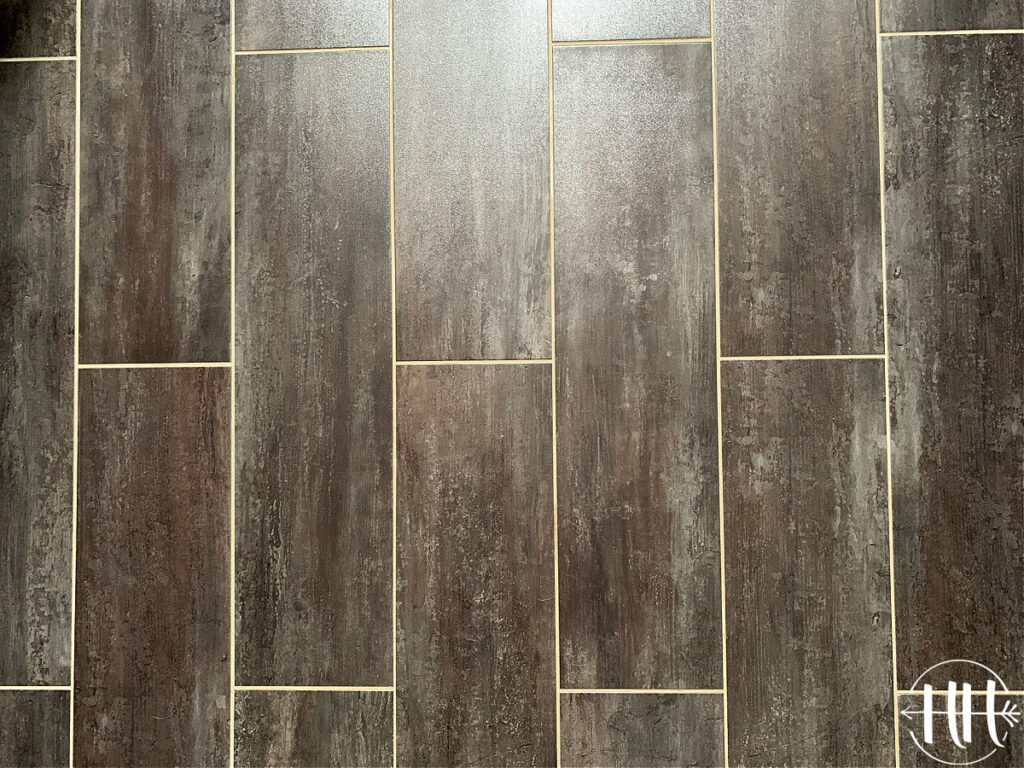
These luxury vinyl planks look like real tile and are so easy to keep looking like new. The acrylic grout is a dream come true – no sealer required! It also has excellent color consistency, doesn’t need to be sealed, resists mold and mildew, and is stain resistant.
Plus, the tiles aren’t as hard underfoot as ceramic tile and don’t feel as cold in the winter.
Another selling point is the ease and simplicity of placing this tile on your subfloor. Not to mention, the small amount of tools you will need. I would almost guarantee you probably have most of them in your tool box right now.
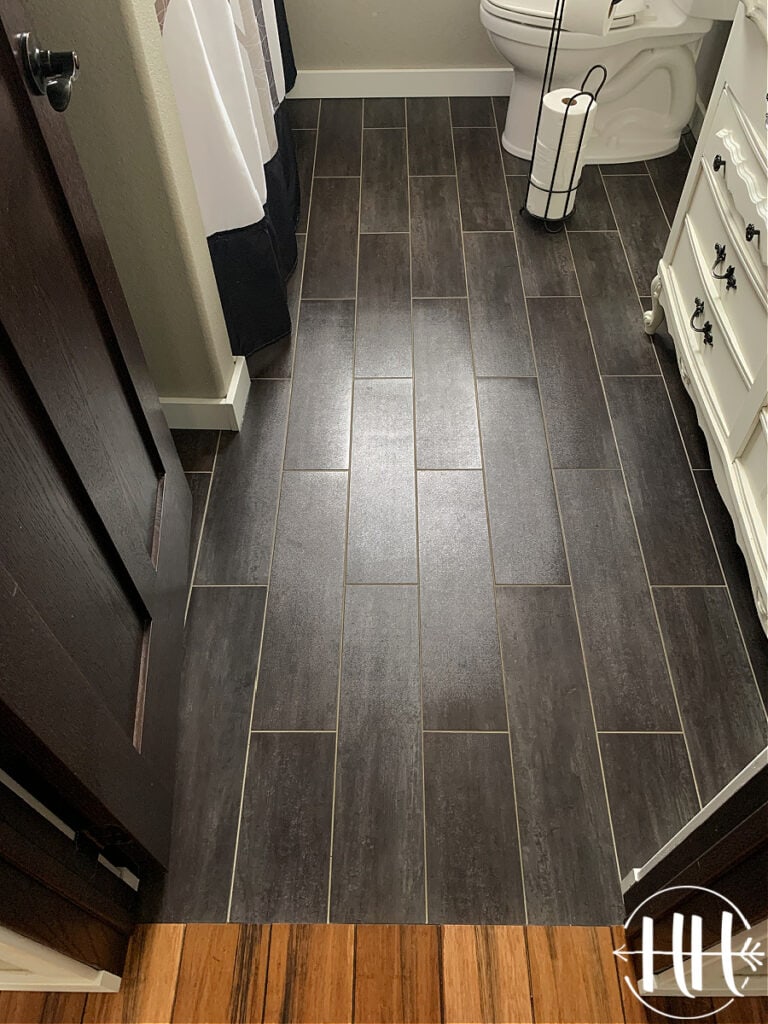
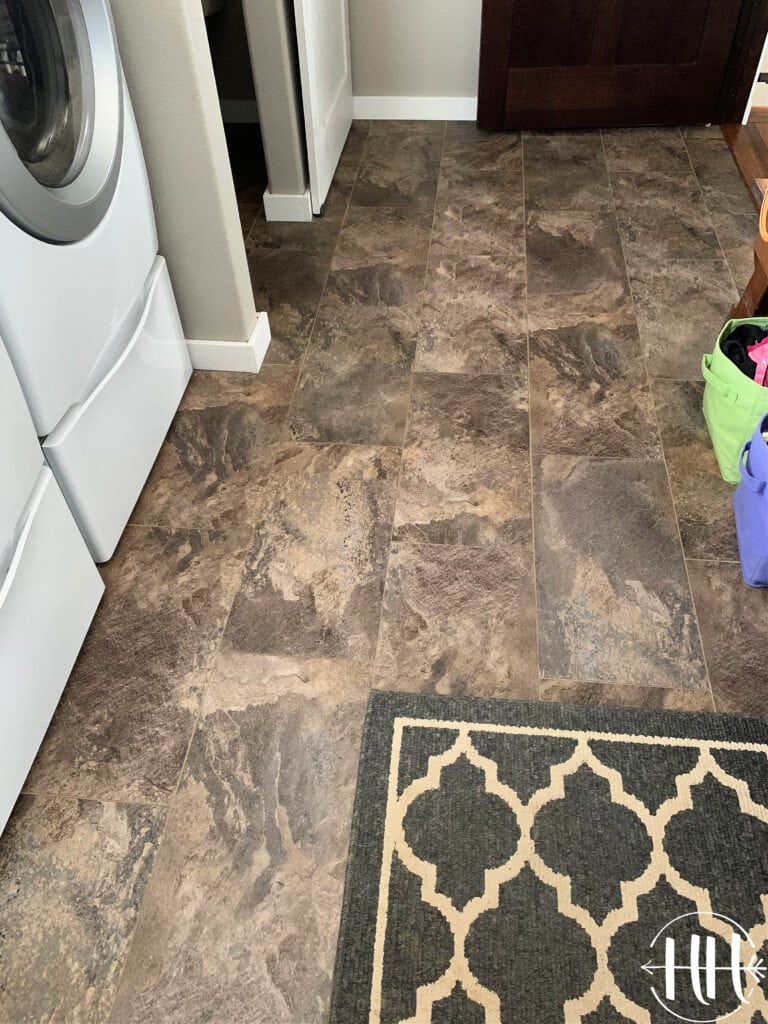
We did two rooms in our new home with luxury vinyl plank flooring. The first being our kids/guest bathroom and the second being our laundry/mud room.
Let’s start with the bathroom! I will let my handsome husband take over the typing now. 🙂
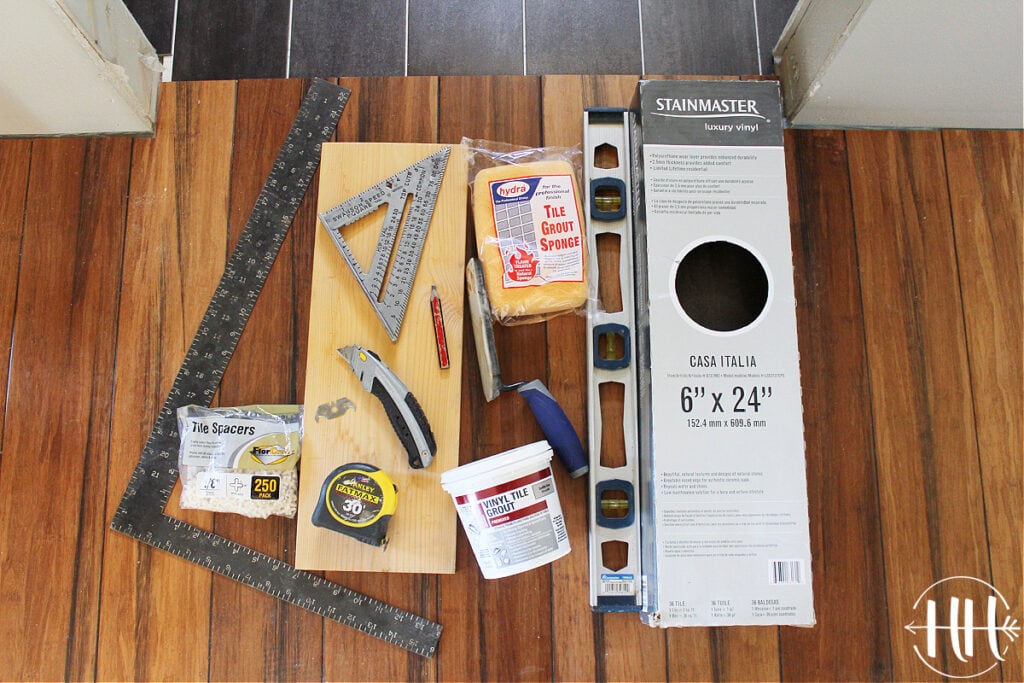
Materials Needed:
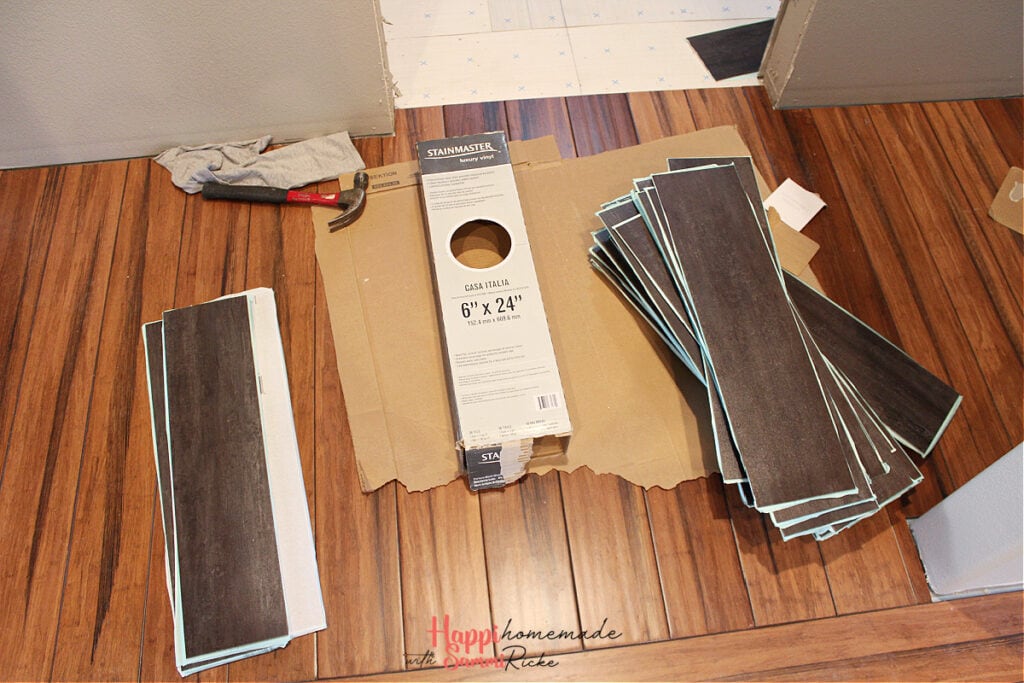
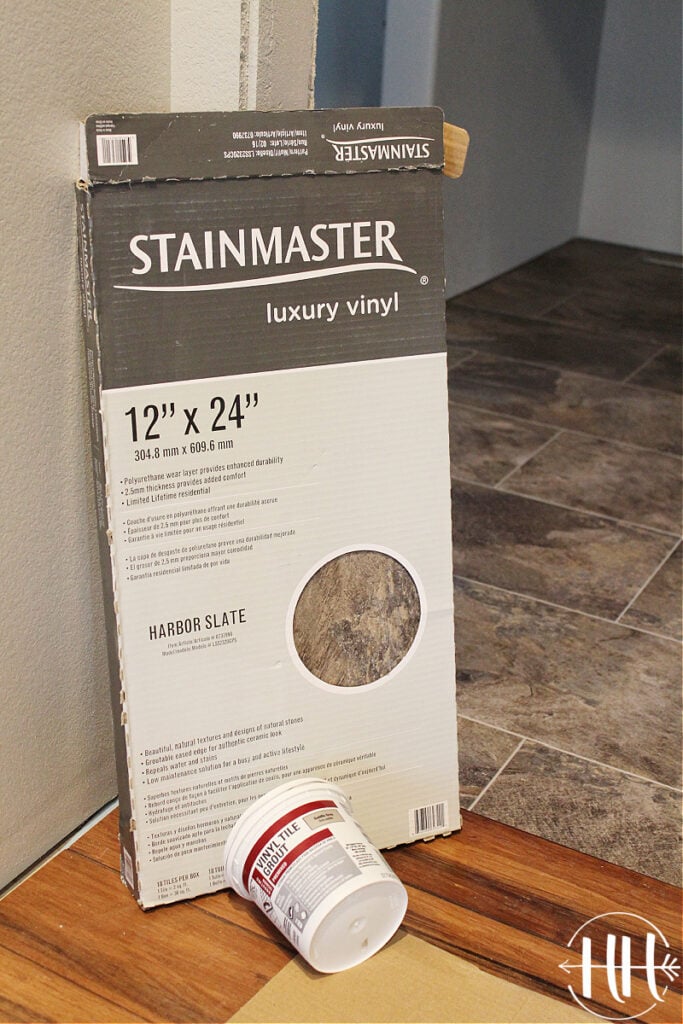
Stainmaster Casa Italia Luxury Vinyl Tile or the LVT planks of choice
Saddle Grey Vinyl Tile Grout from Lowes or grout color of choice
Tile spacers (we used 1/8″)
Level(s): Two – 4′ levels will work and framing squares, used to transfer straight lines, a laser level would probably work even better.
Razor knife
Tape measure
Pencil/Pen/Marker, a crayon would even work 😉
Speed square
Scrap board to cut tiles one
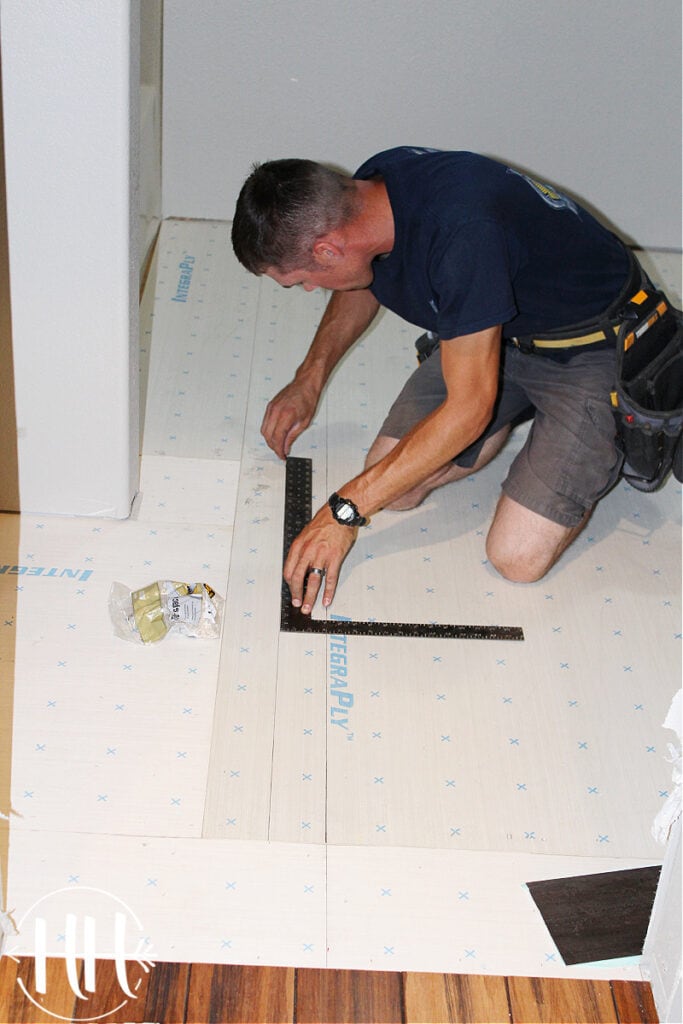
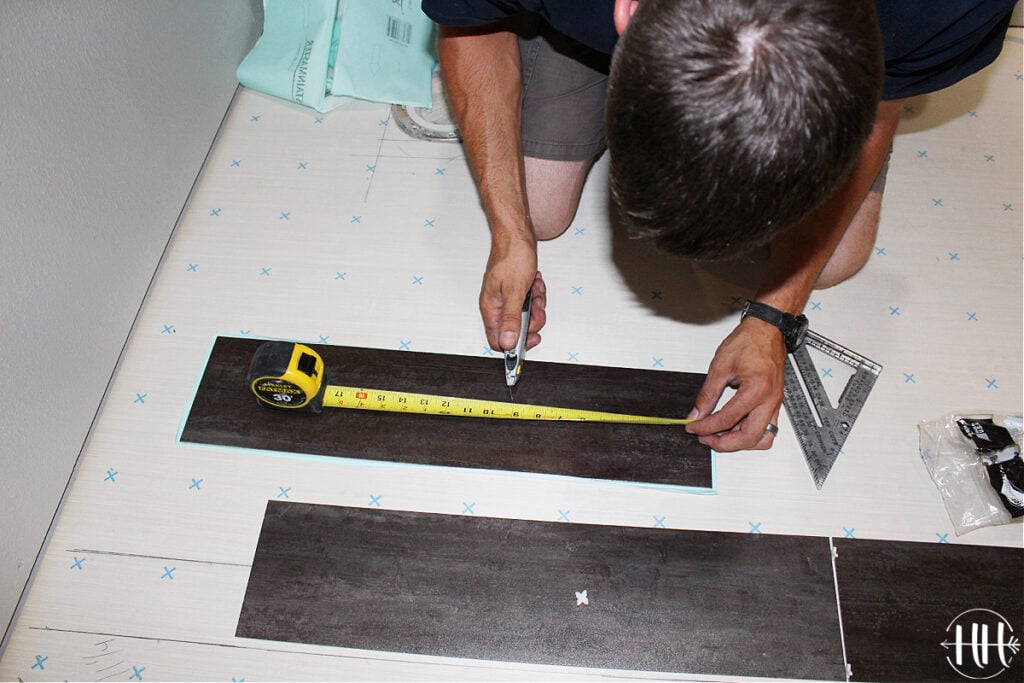
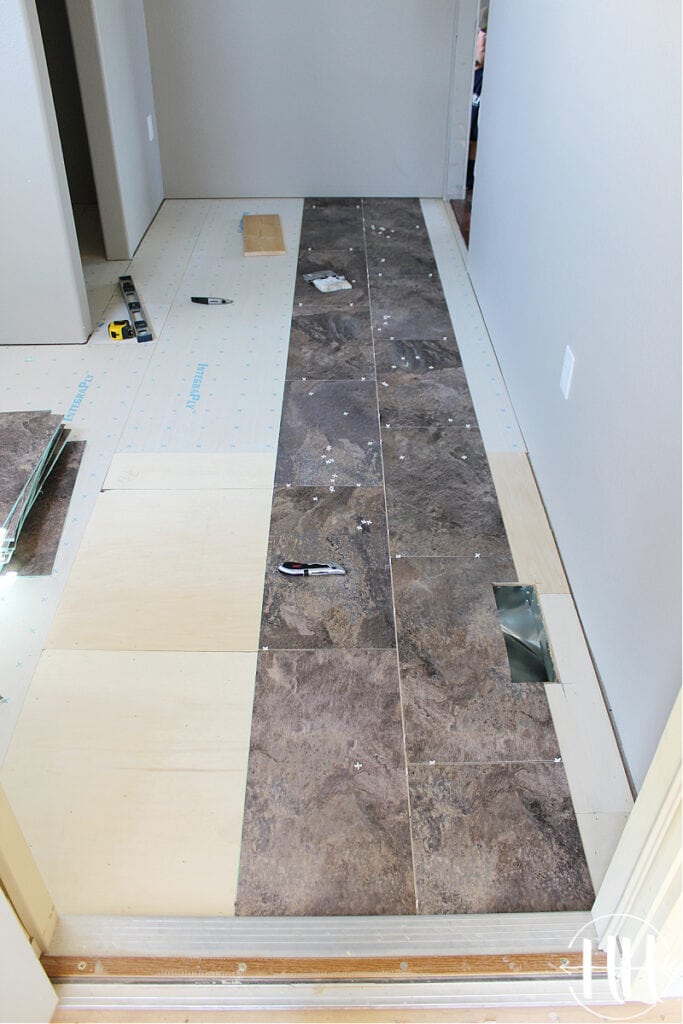
Find the center line of the room to give a straight line to start on. For this room it is the center of the door.
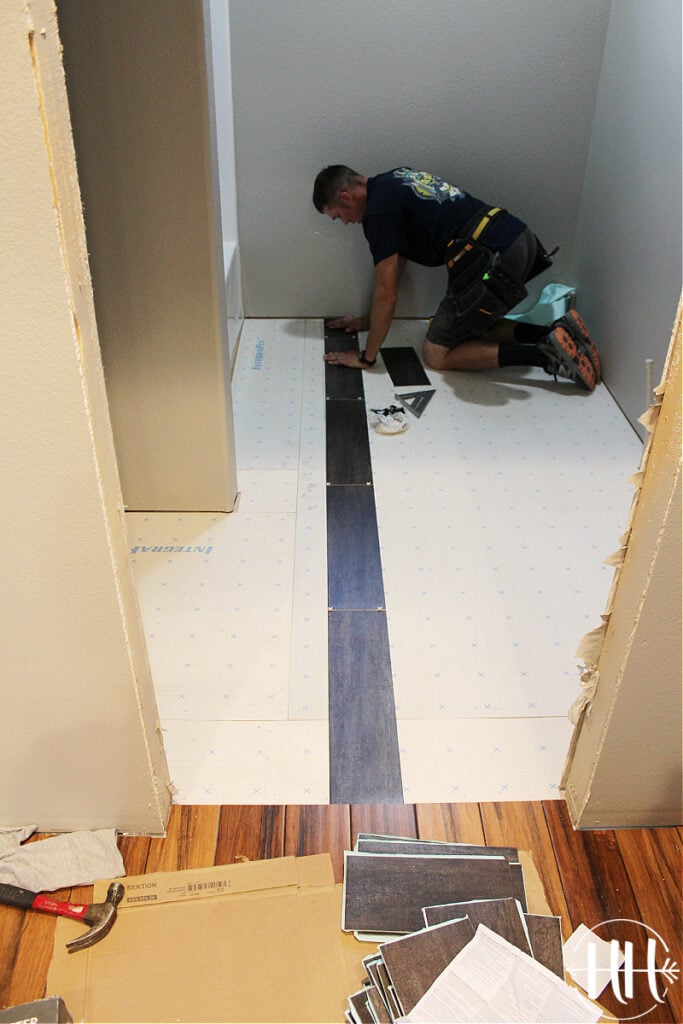
After you have the entire line drawn, start laying down the tiles by removing the paper and sticking them to the subfloor. Don’t forget the spacers if you are grouting!
More than likely you will have to fill in the end or each row with a cut piece. This particular brand of flooring is very user friendly and sticks to the sub floor well.
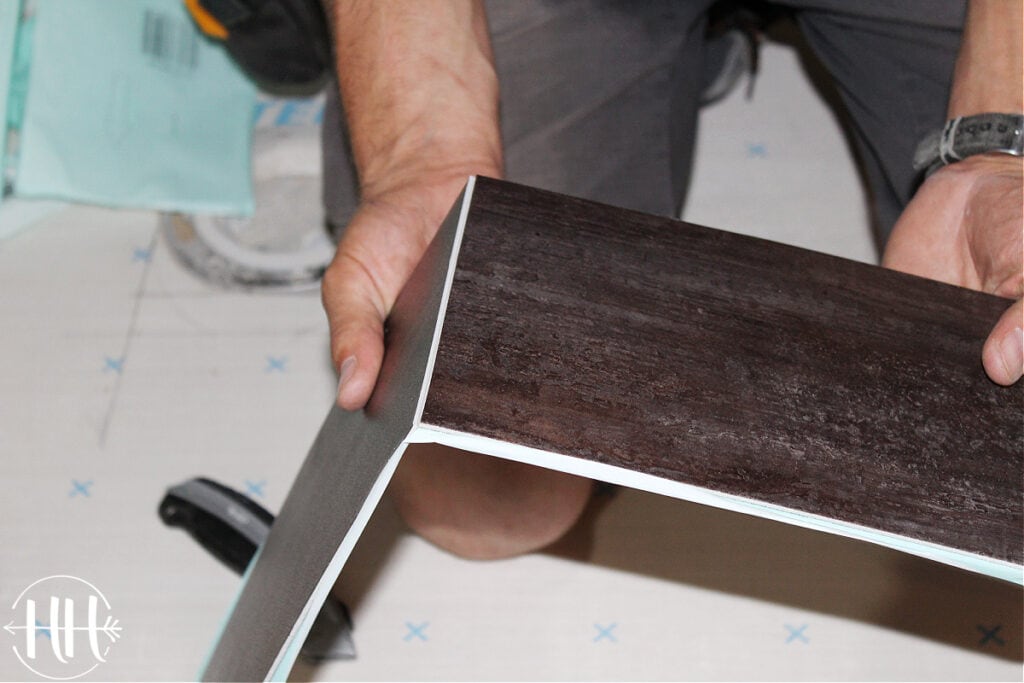
Measure the tile then score it with the knife. Apply gentle pressure to break the tile where the score line is.
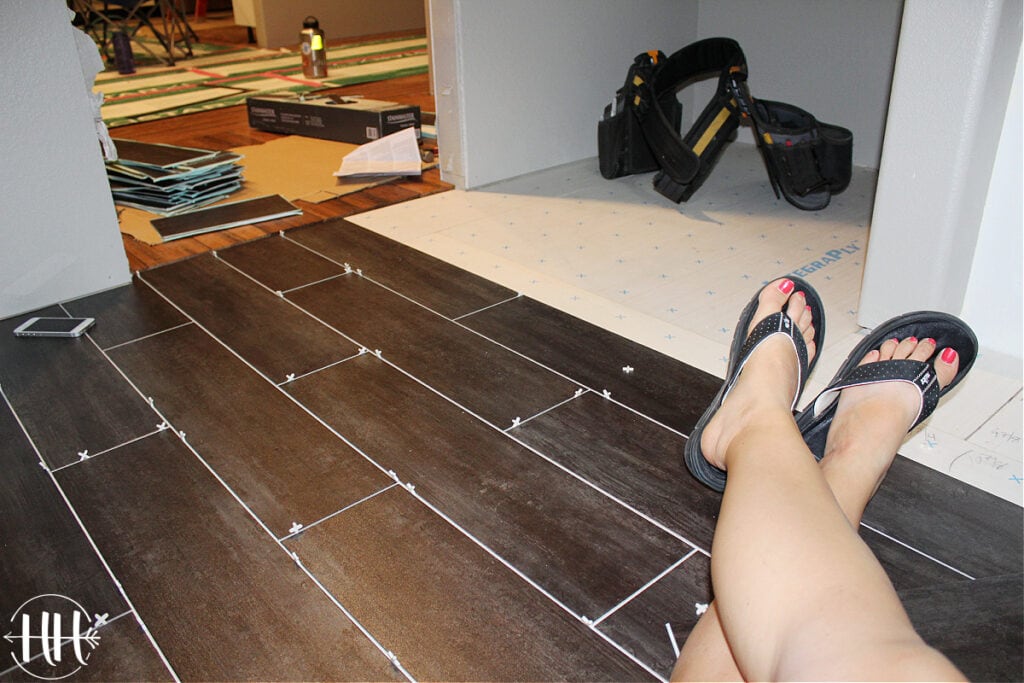
We only used a minimal amount of spacers and actually reused them after this flooring was done.
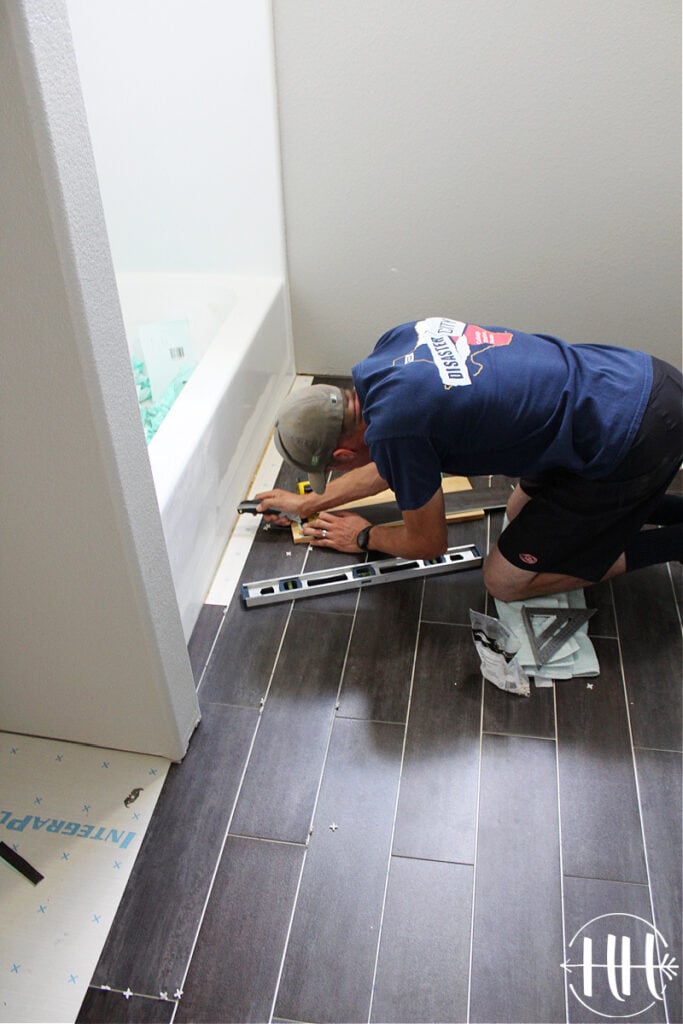
This is where the scrap piece of wood comes into play. Be careful to cut the lvt on the scrap wood block as to not cut your new floor. I didn’t want to walk in and out for every cut piece so I cut my lvt in the bathroom. This is a huge time saver!

It’s always handy to have a set of knee pads when you are flooring! I opted for a towel.
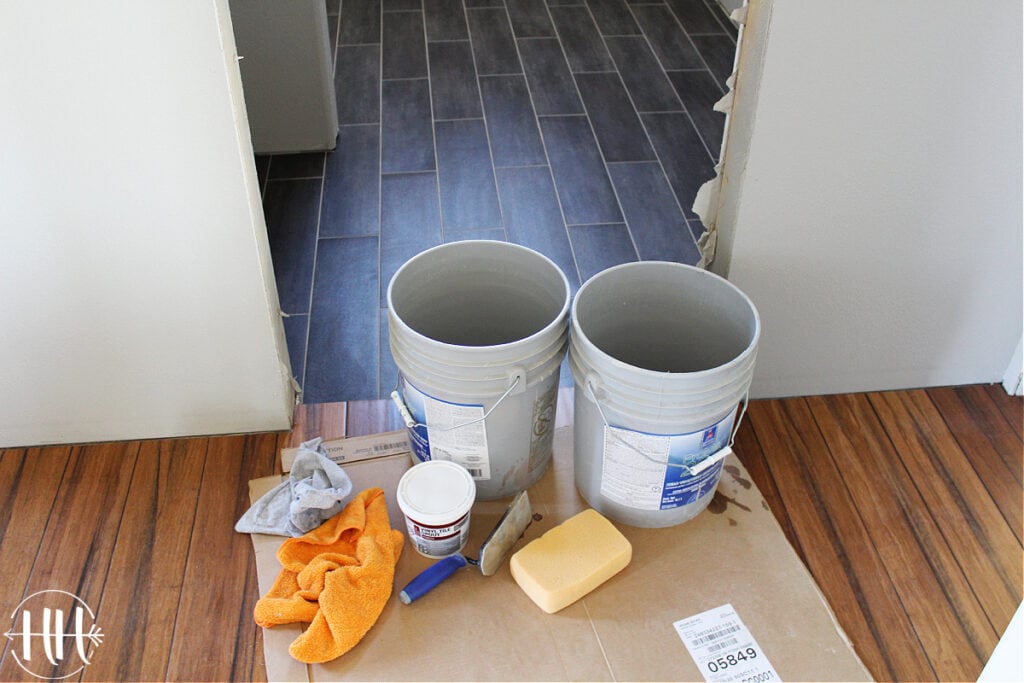
Here we have two buckets of water, premixed grout, a big sponge, and grout floor float (soft trowel) , and a few old rags and towels. I will be honest, Sam took point on this part of the project. She’s great at finish work!
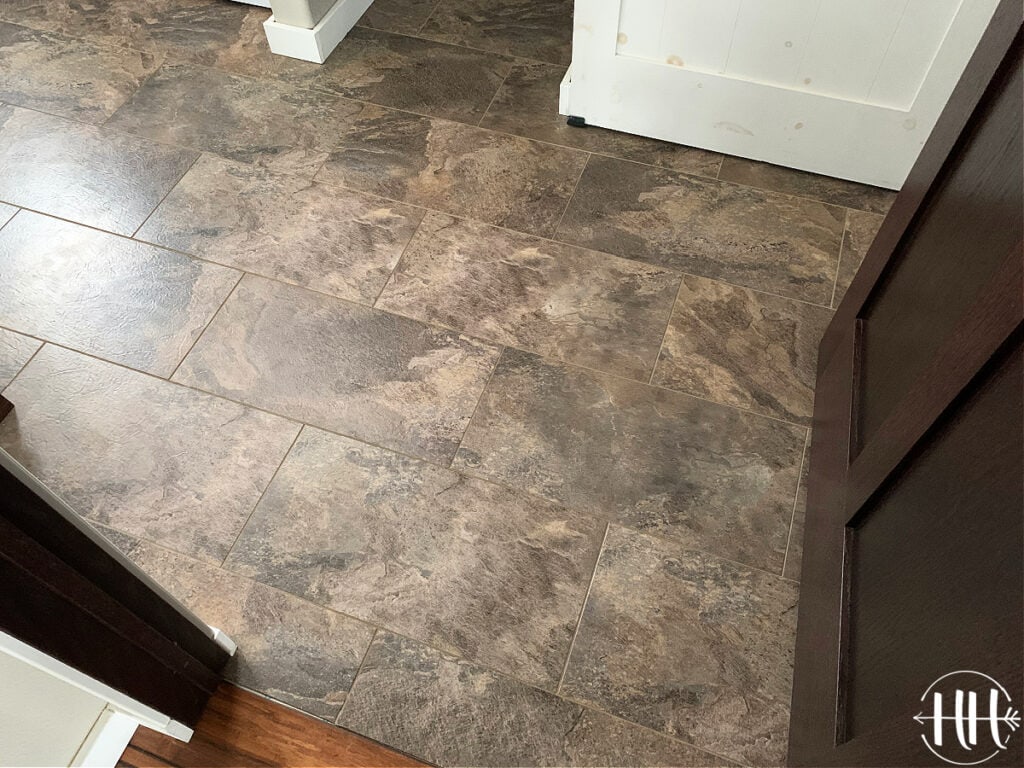
This is the lvt flooring we used our laundry/mud room. Lowes unfortunately doesn’t carry this flooring any longer. However, I am sure you can find similar color and sizing.
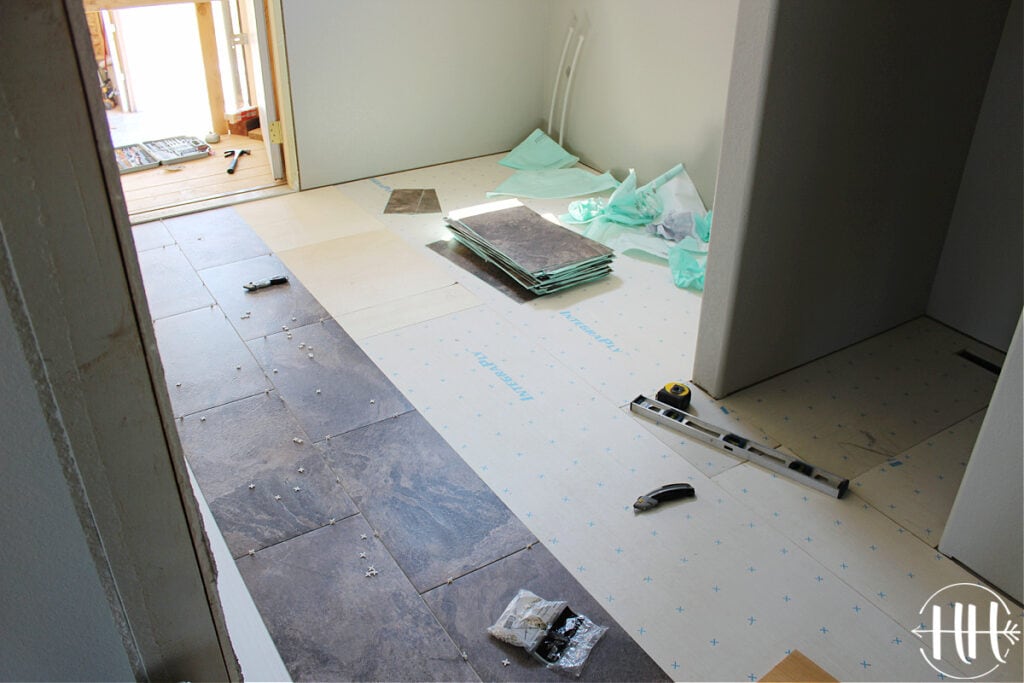
Here you can see the same tools laying about as with the bathroom. I also started this floor the same as the bathroom with a straight line drawn down the middle of the doorway.
Two rows down and there seems to be no shortage of items to cut around. You can use a jig-saw to cut around vents and corners.
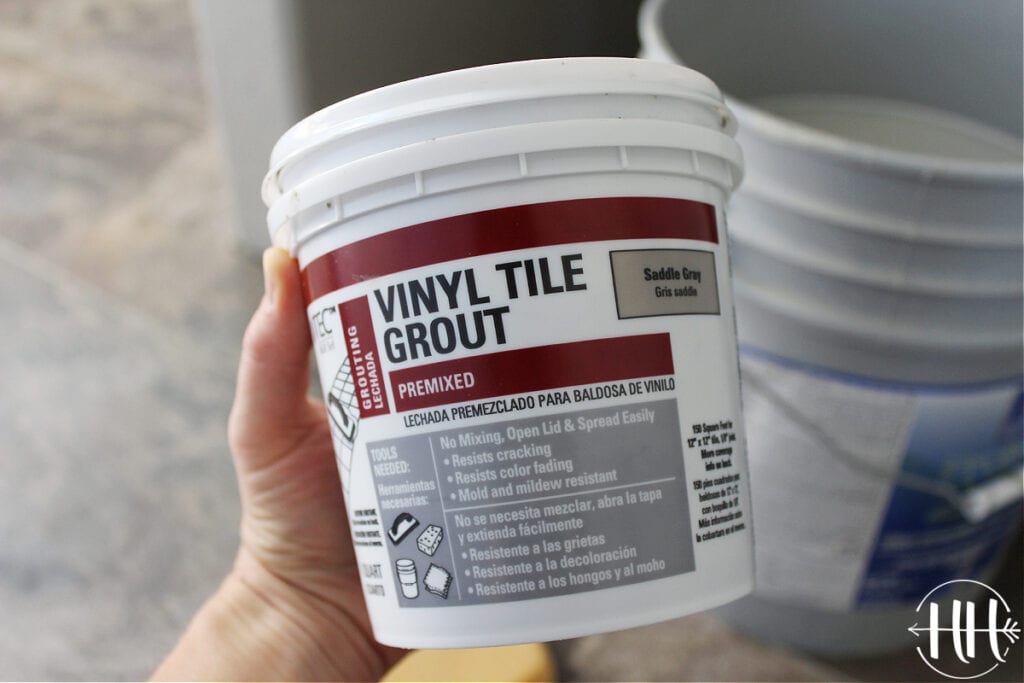
This is the Saddle Grey Vinyl Tile Grout from Lowes that Sam used.
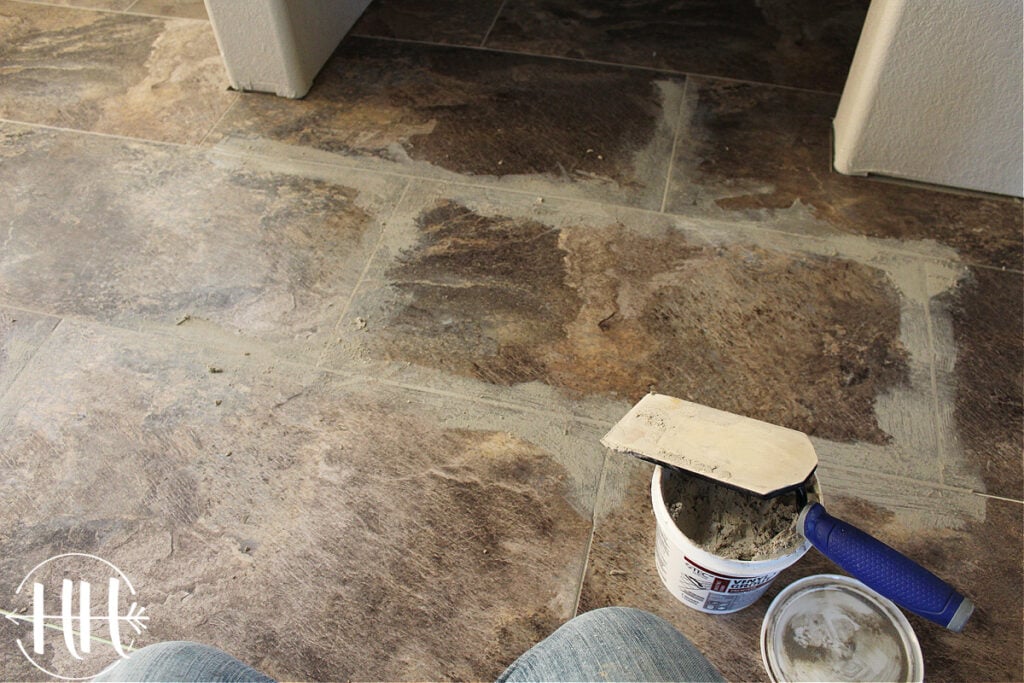
Here’s what it looks like as you are applying the grout after all the tiles are in.
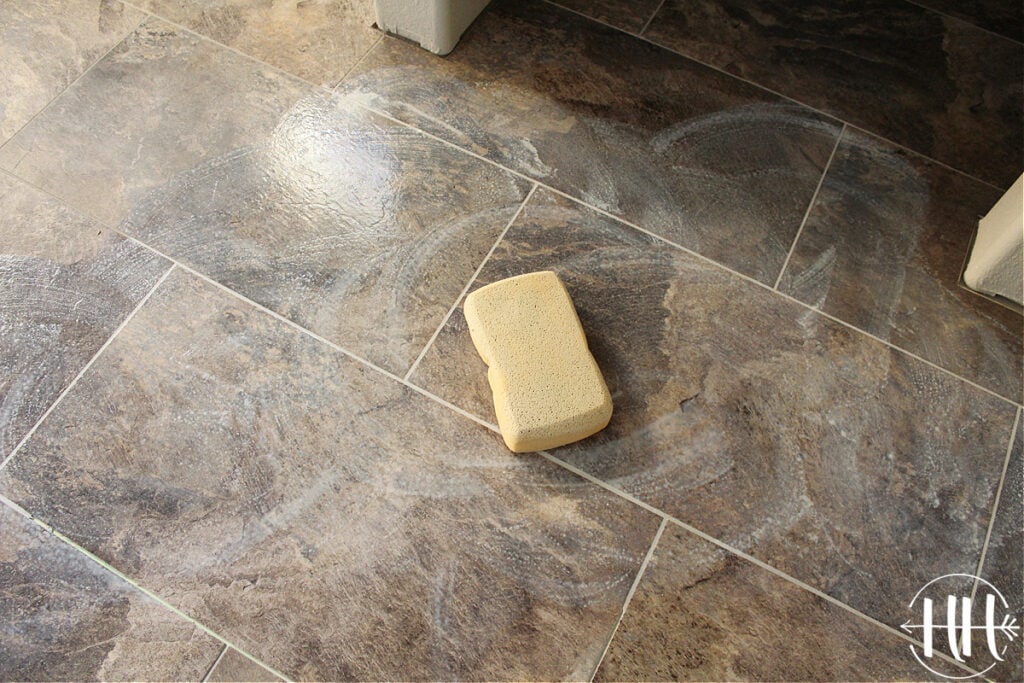
She used the soft sponge to get the majority of the grout off the floor. ALWAYS follow the manufacture’s directions and clean appropriately for your own brand of flooring.
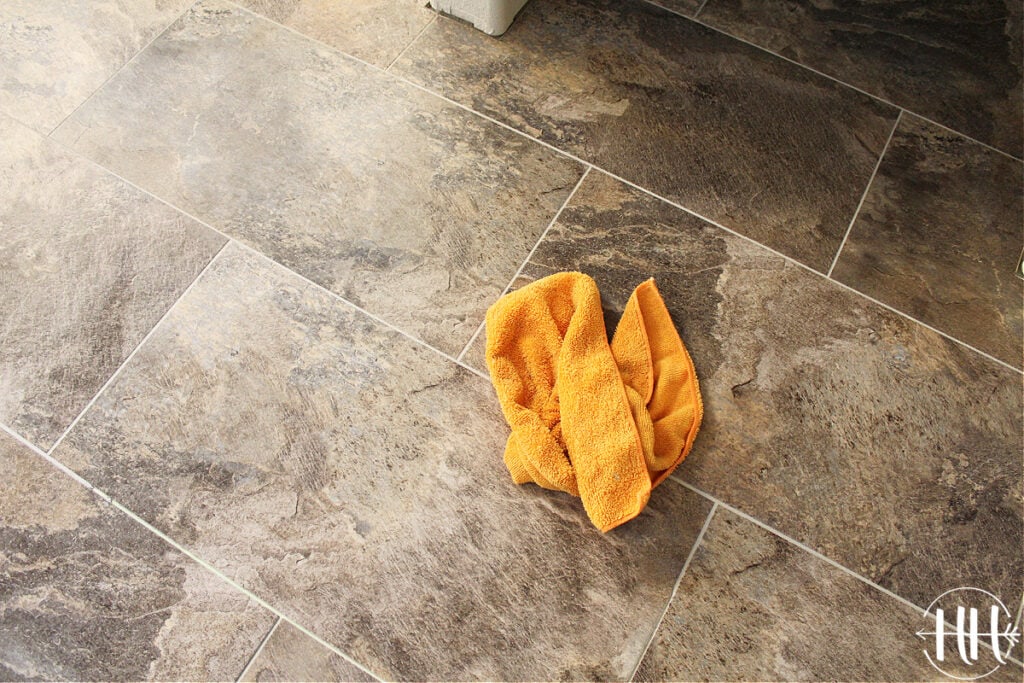
This soft cloth cleaned up the remainder of the grout and the floor is finished!
This project took very little time compared to other projects in our house build.
If you are curious about those projects you can find them HERE.
Please feel free to ask us any questions about this Luxury Vinyl Plank Tile Flooring down in the comments!

We love our home and all the process of vinyl flooring installation that our contractor suggested and it turned out to be perfectly beautiful with our home design.
Hi my wife & I are laying the Casa Italia vinyl peel & stick tiles & we are short one box of tile & cannot find it at Lowe’s anymore. I was just wondering if you guys had any left over from youre project or know where I could buy a box from. They no longer sell it at Lowe’s & I cannot order it through lowes website.
Hi Jeremy,
Oh man! We have been there. I’m sorry! We just looked and only have 2 tiles left and that’s certainly not the whole box that you need. You have probably already tried this, but we called Lowes and they were able to locate the tile we needed at another store location and had it shipped to our store (granted this was 6 years ago and was travertine tile for our kitchen backsplash). I really hope you can locate another box. I’m sorry we couldn’t be of more help. 🙂