DIY Painted Barn Doors
Who doesn’t love barn doors?
I mean c’mon. They are so cool!
Authentic and real barn doors from old barns are hard to come by. I am sure in different parts of the country it may be easier to find than in others. There is also the price point…yowzers! They can be pricey!
We are going to show you just easy it can be to add barn doors to your own home without spending a fortune. Yay for DIY Painted Barn Doors! Let’s get started.
DIY Barn Doors Version #1 – Chalkboard Paint
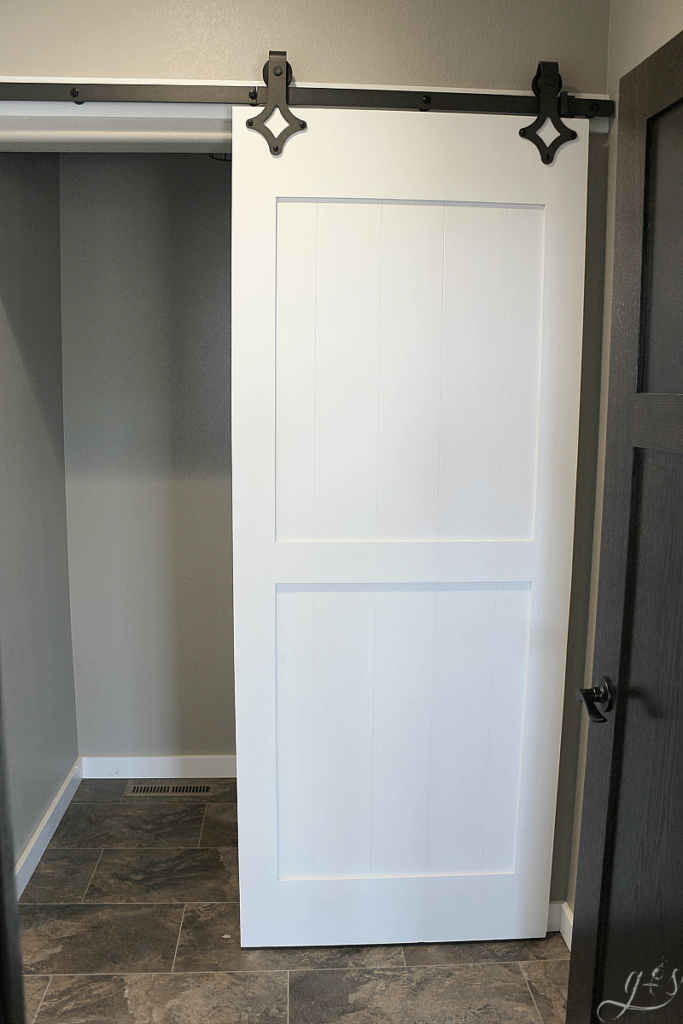
In this DIY Painted Barn Doors tutorial, we (actually 90% of this project was all me! Ryan had the other 99% of the house to finish!) will show you how to both paint and stain a barn door and the hardware we chose to hang them!
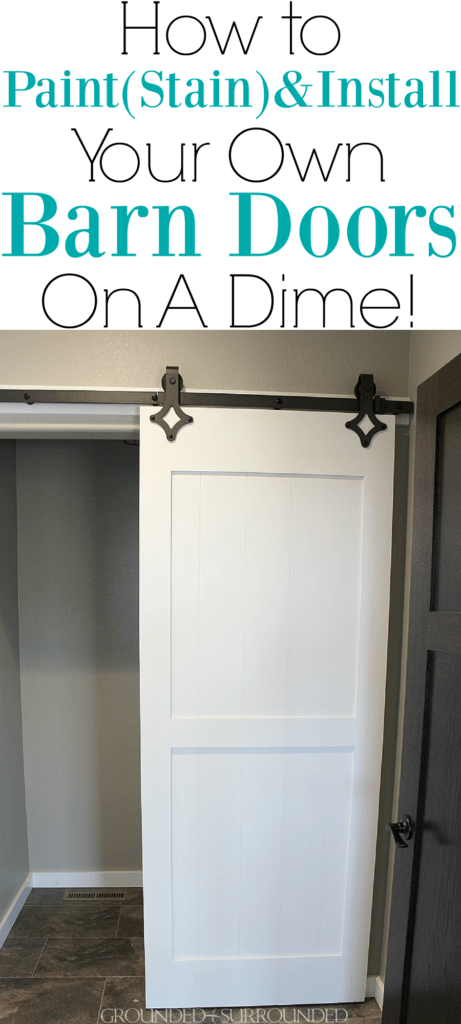
This door is hanging in our laundry room which contains a 1/4 bathroom aka just a toilet…and a light. And toilet paper. You’re welcome. 😉
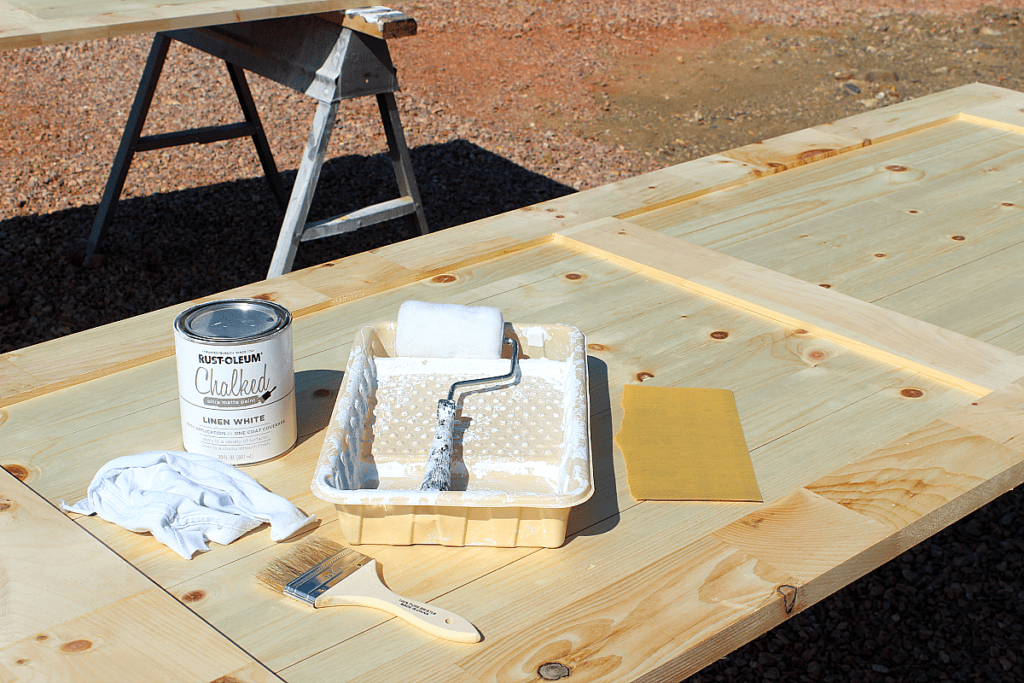
Here are the materials needed to paint your barn door with chalkboard paint.
I bought Linen White Chalkboard Paint from Rustoleum, a small paint roller brush, sand paper, a cheap brush to paint these barn doors. To finish the door, I used Annie Sloan’s clear wax to seal the door and the super-duper-hoorah brush that goes with it. My sweet friend let me borrow both. Thanks Sharon!
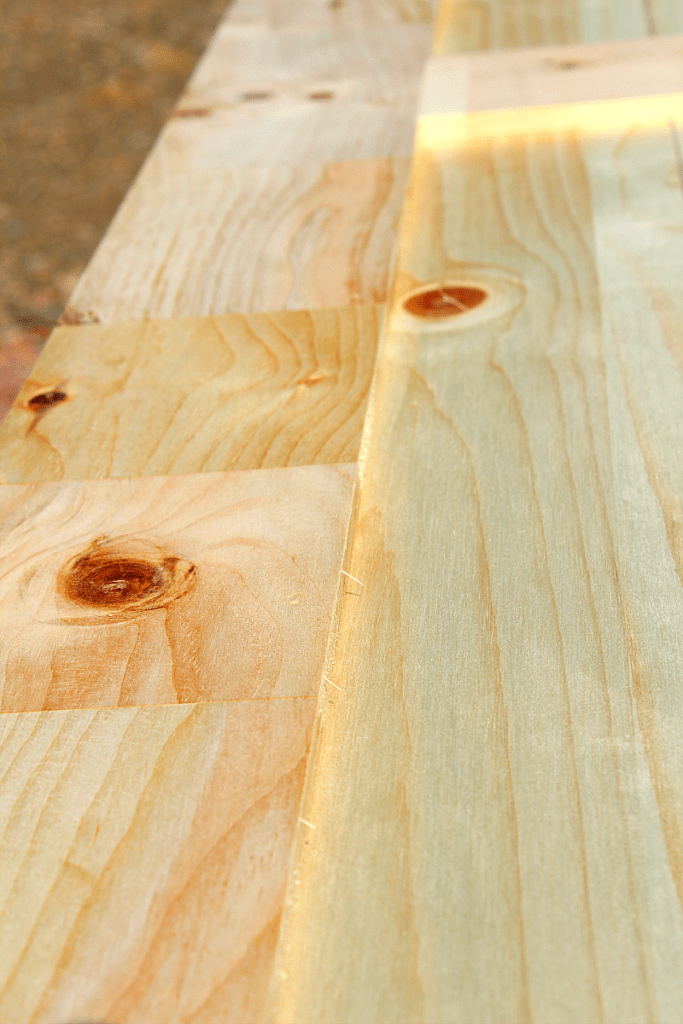
Before I started painting I used fine grit sandpaper to smooth the edges of the door. These doors are super inexpensive at Menards and need just a little bit of prep work before the magic happens. The edges were rough, sharp to the touch, and contained lots of splinters and pieces of wood that needed to come off.
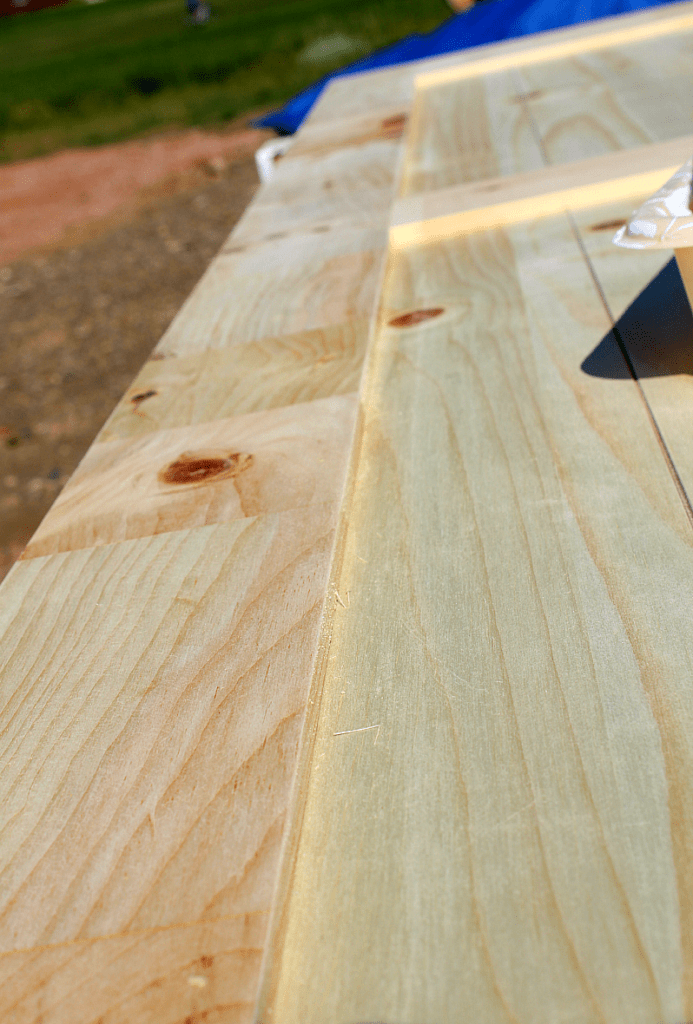
Now that the edges aren’t razor sharp and the little pieces of unfinished wood are gone we are ready to start painting!
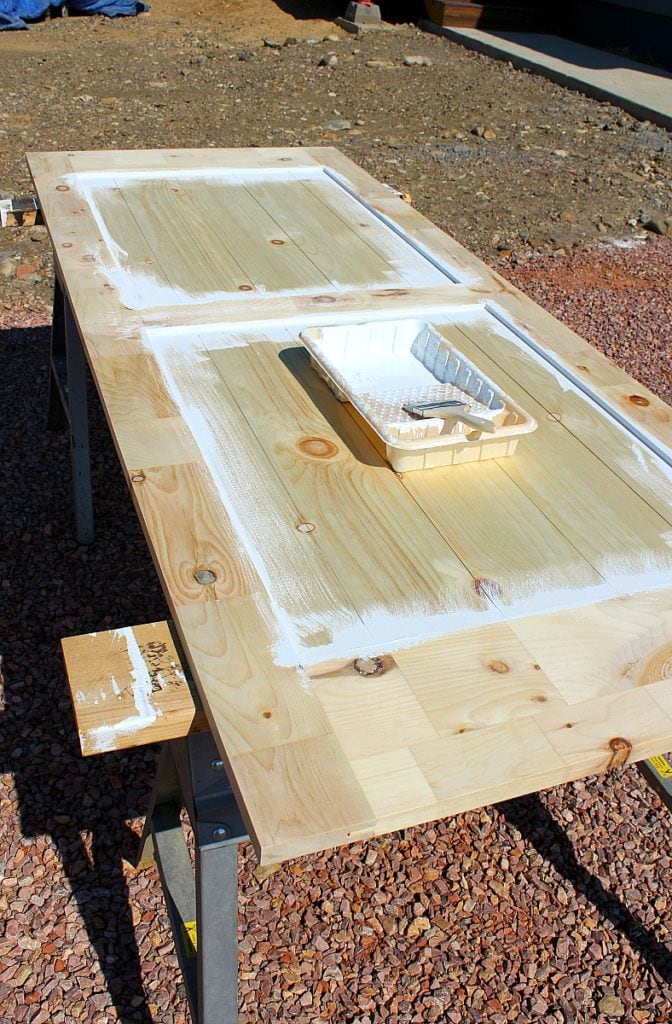
I started painting by using the small brush and getting the paint into all the corners and crevices.
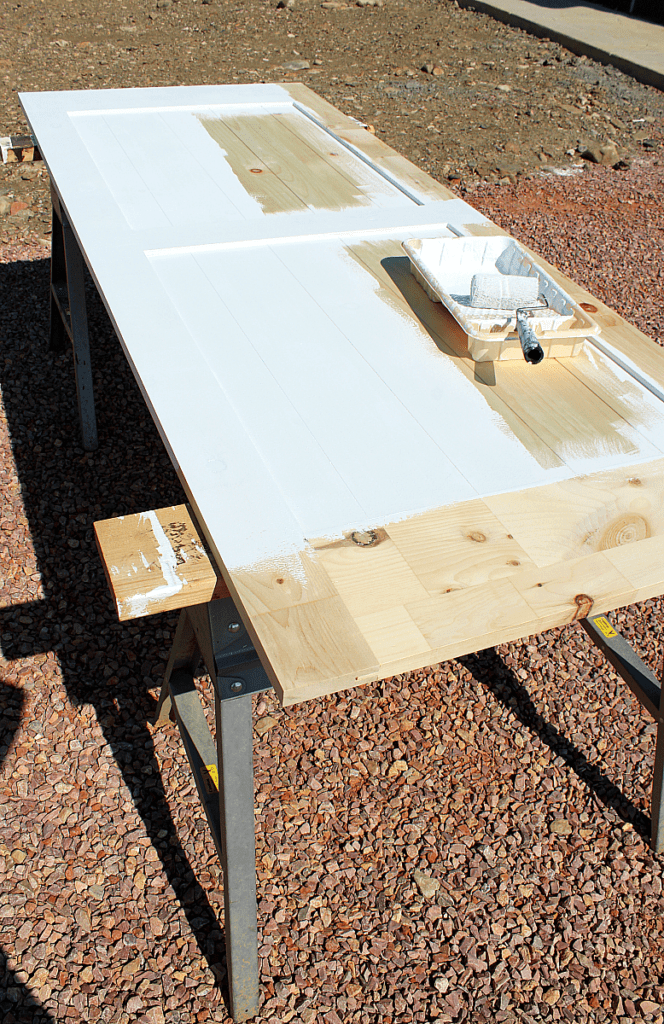
I love that little 3-4″ roller because it works perfectly for small projects like this!
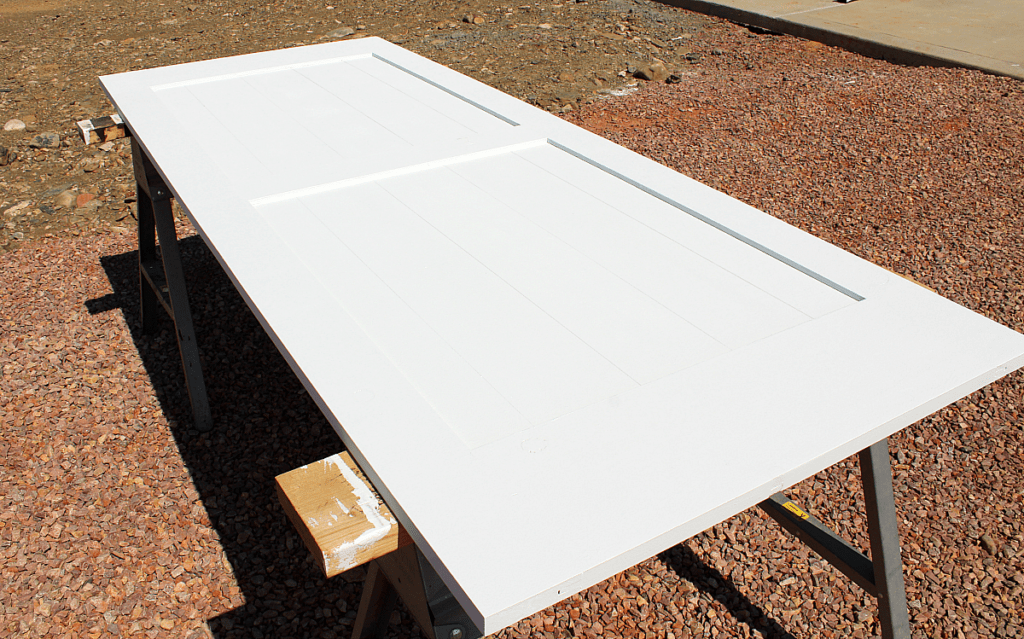
I painted this side and the edges. Allowed it to dry, then turned it over and repeated with the brush and roller. I would advise using a few rags or towels to cover your saw horses because when you are turning sometimes the awkwardness of moving such a large object lends to scratching it. That never makes me happy when that happens.
I did 2 coats on each side, but I would suggest 3 coats. I am starting to see the knots of the pine show through the paint now that some time has passed.
I certainly think it looks cool and kind of rustic, but if I were to do it again I would have done 3 coats.
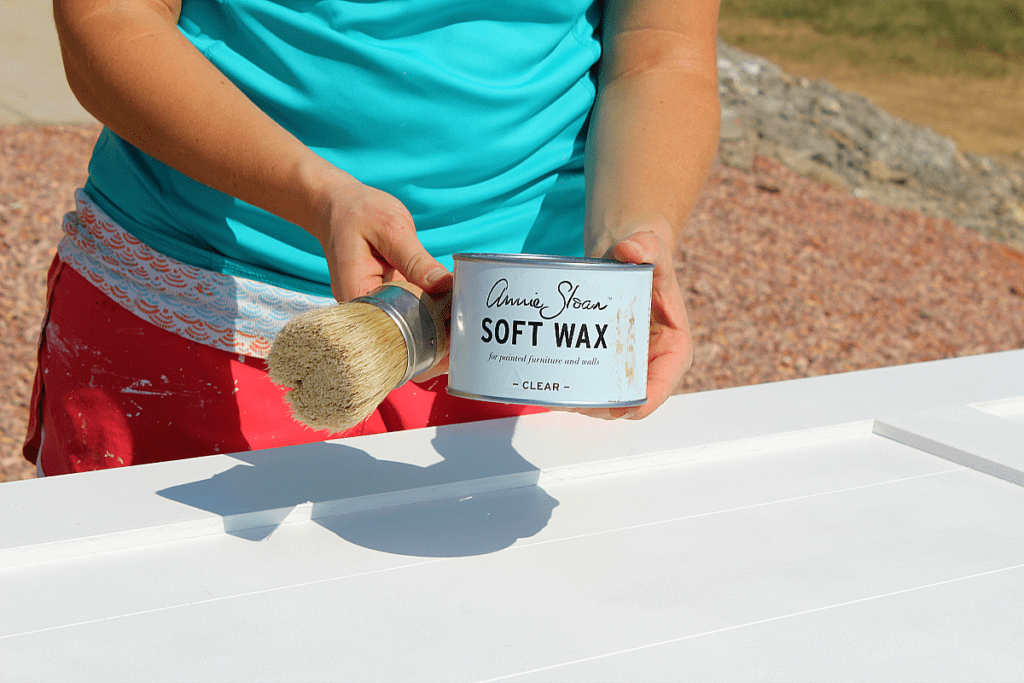
After the door dried for at least 24 hours, I used the soft clear wax and fancy brush to seal the door. The wax works like a typical top coat does except it’s a wax.
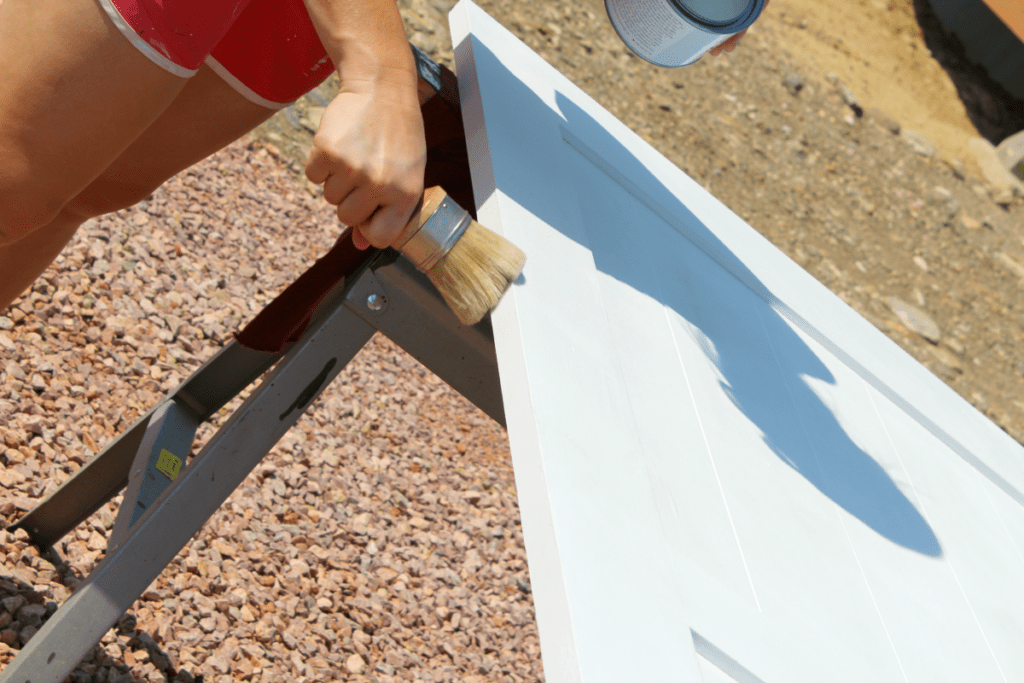
You will use very little wax. I think the jar will last a lifetime. Basically, you dab the brush in the wax and rub really hard in circular motions until you cover the entire door with wax.
The funny thing is, the less you use the better. You will see that the wax kind of “enhances” the paint. It’s hard to explain, but you will see it on there. Here is a lovely tutorial to better explain the process!
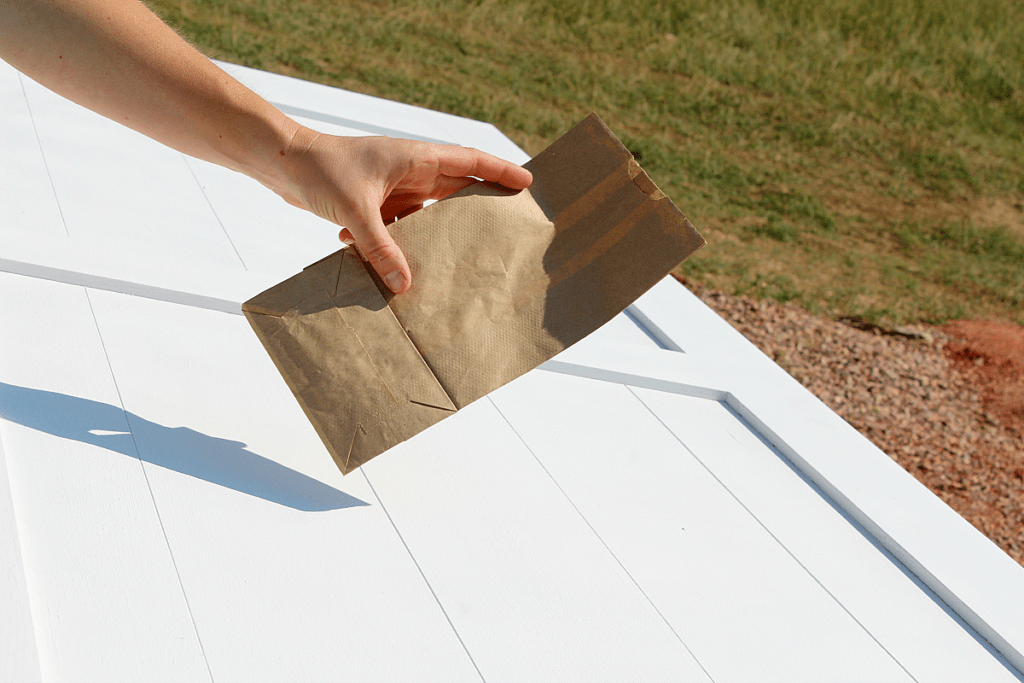
Once the wax is applied, you will need to buff the door with a brown paper bag or white t-shirt. You need to buff it to remove any extra wax. The door should not be tacky and by buffing you are actually helping the wax to press and adhere into the wood.
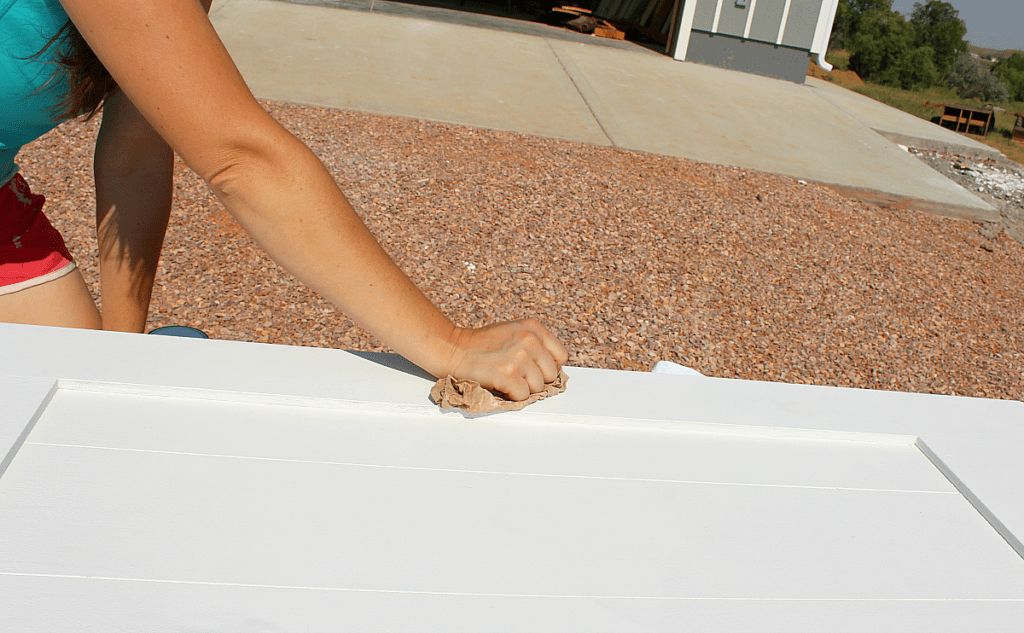
After buffing the door, you are DONE! See? Super easy!
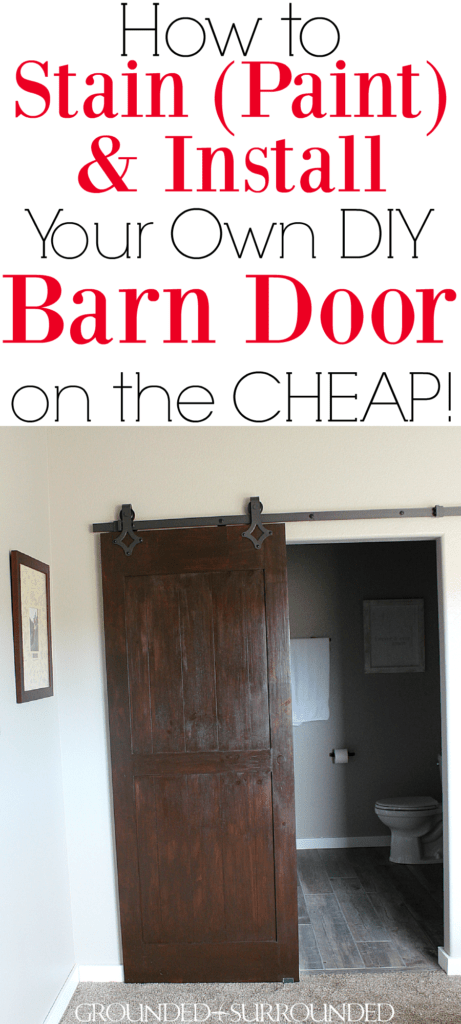
Now I want to show you how we stained the other barn door in our home. This door is in our master suite and I love how it turned out.
DIY Barn Doors Version #2 – Gel Stain
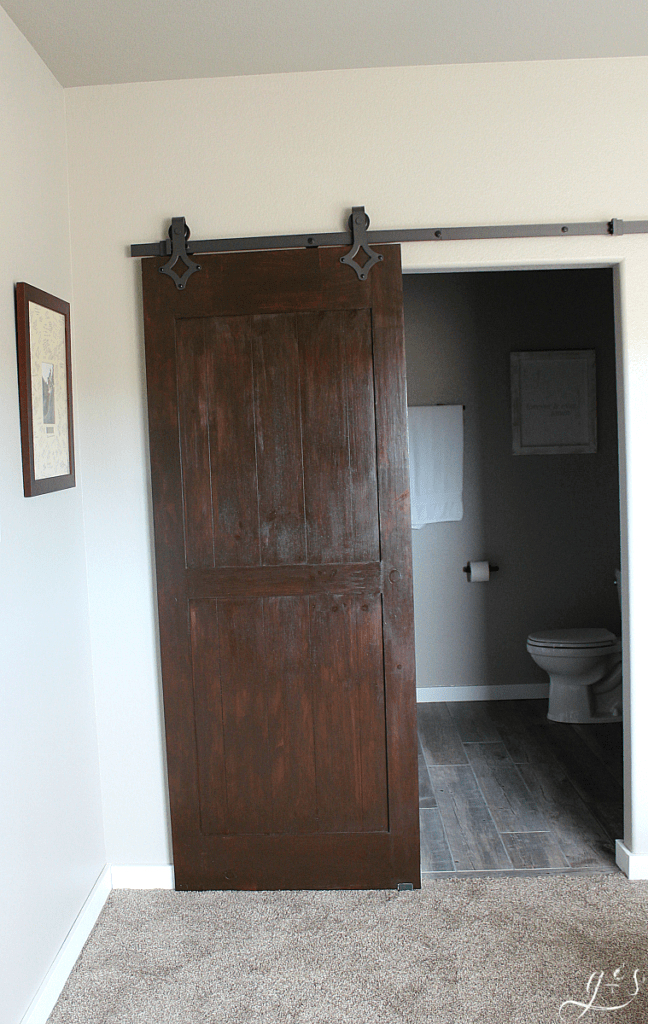
Originally, I had envisioned double doors leading from the bedroom into the bathroom. But then life happened, or better said “reality” and we went with a single door like normal people. Ha!
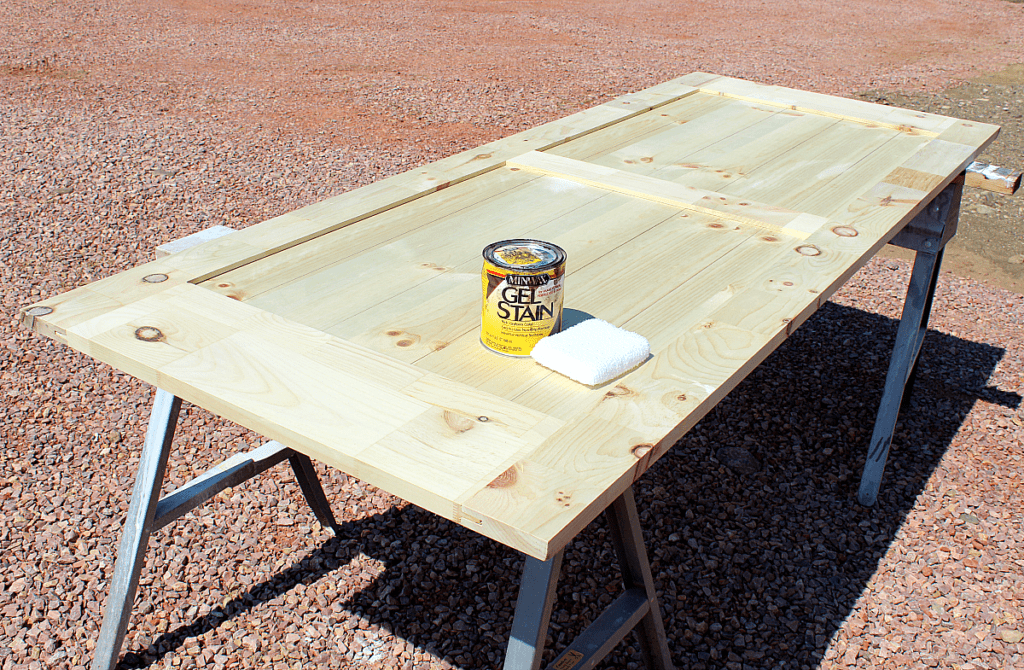
All you need for this stained door is the door (duh), Minwax Gel Stain in Walnut, a painting sponge, a clear top coat, and paint brush.
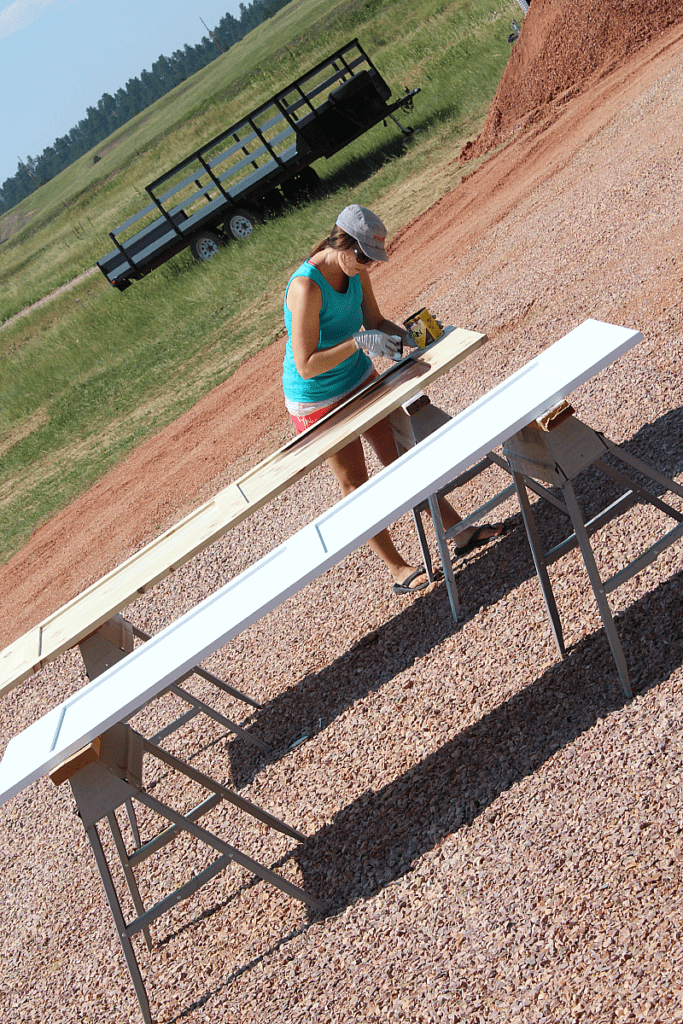
Ahhh, there’s the pretty white barn door and there I am getting after the stained one. Be sure to lay cloths or towels over the tops of the saw horses because sometimes the stain or paint tends to be sticky and will come off on the saw horses OR the saw horses may scratch the doors if there are any rough patches on them.
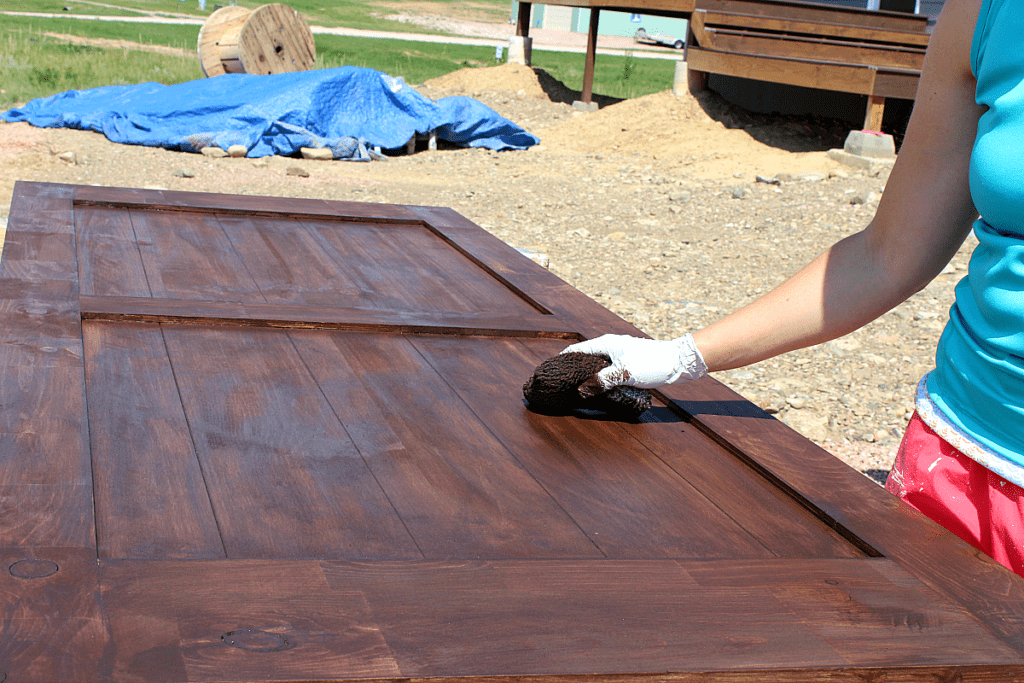
I am seriously in love with those cotton stain pads. Like LOVE them! They are super cheap and you just throw them away when you are done. I have also saved them inside a plastic grocery sack (in the shade) for hours in between coats.
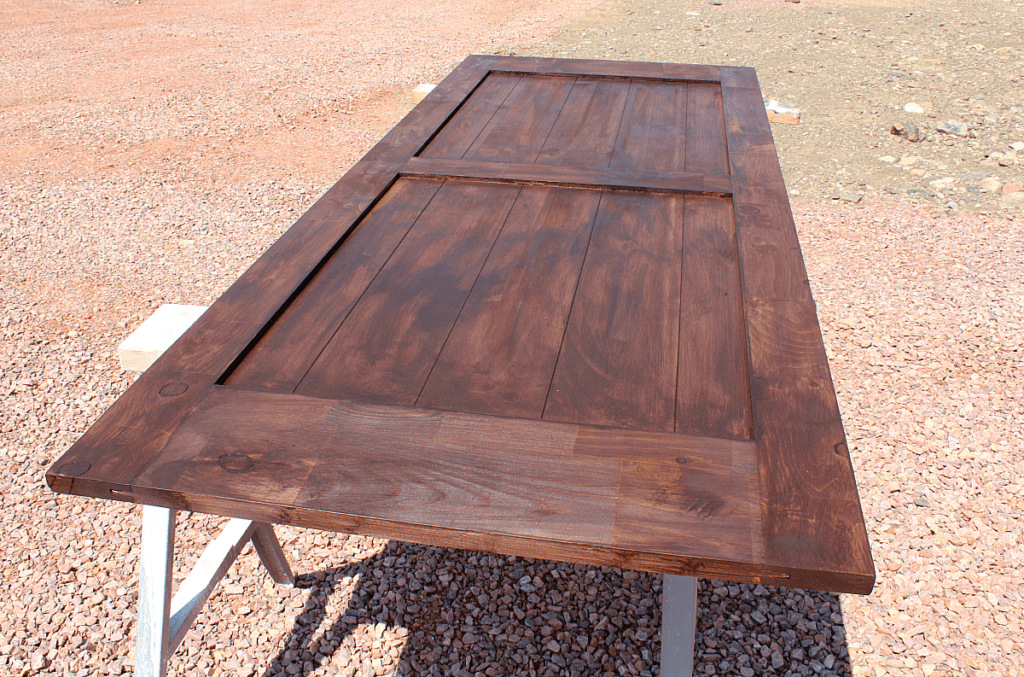
I did 3 coats on each side of this door. This is after the first coat…
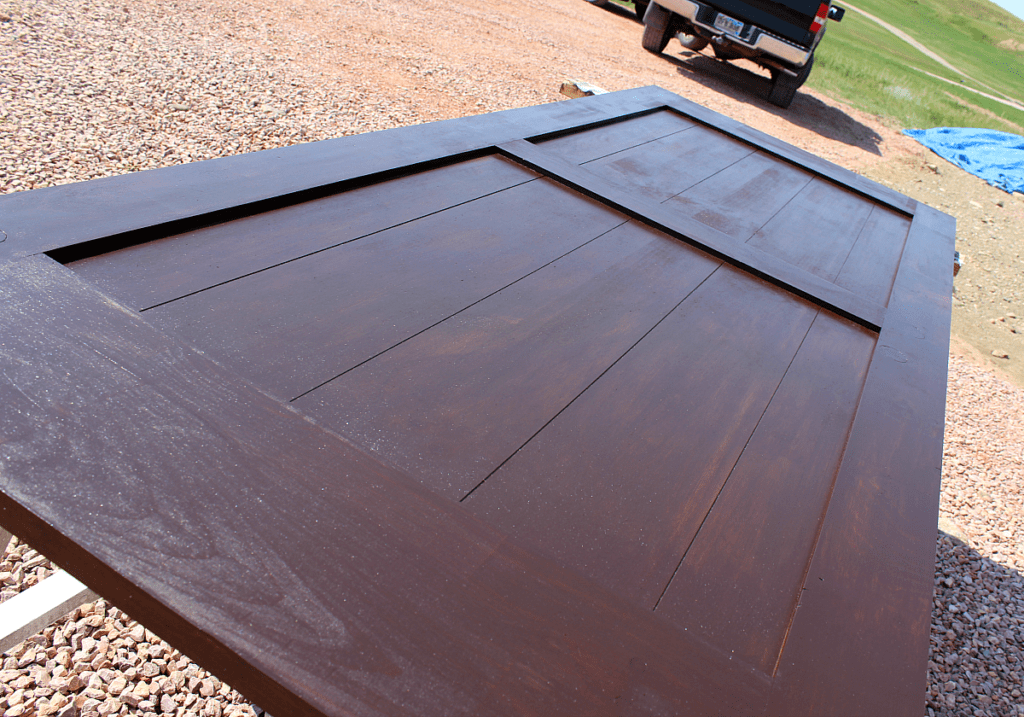
Tada! This is how gorgeous it looks after the 3rd and final coat. Isn’t that color rich? #love
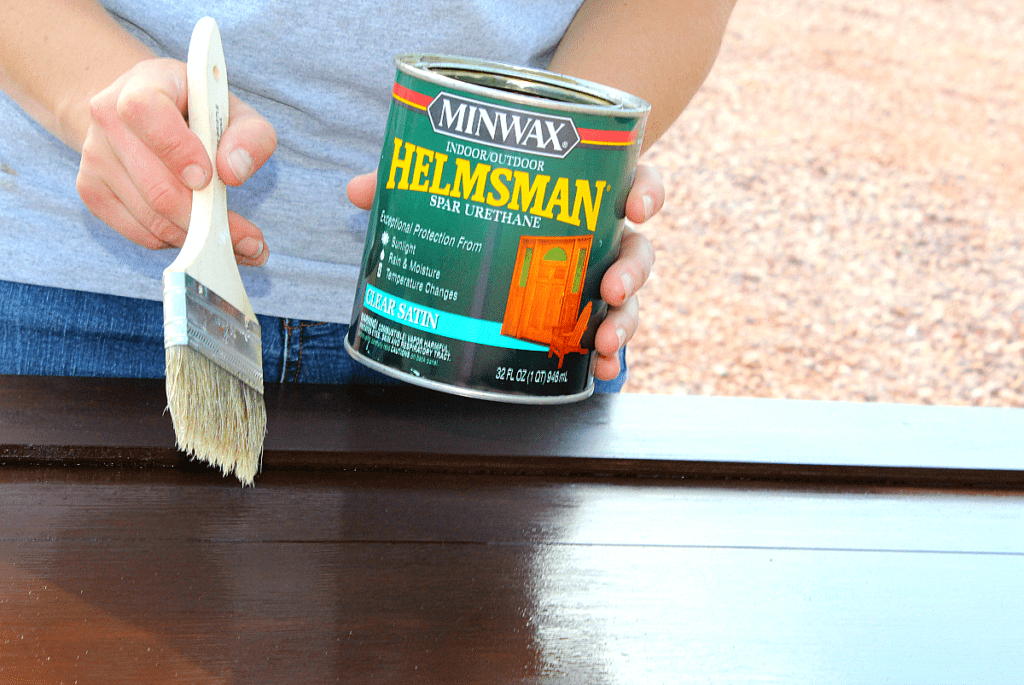
After the 3 coats have dried completely you will want to use a top coat to seal the door. I can’t tell you I waited as long as the directions on the can suggest because I lack patience, but it seems to have worked just fine. So no harm, no foul! 😉
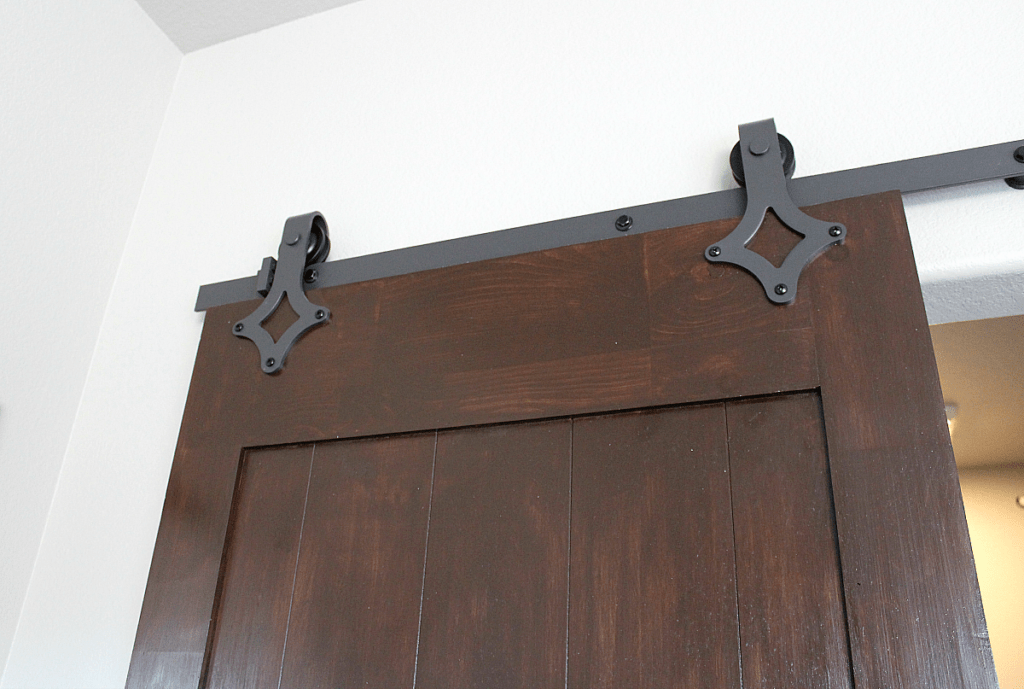
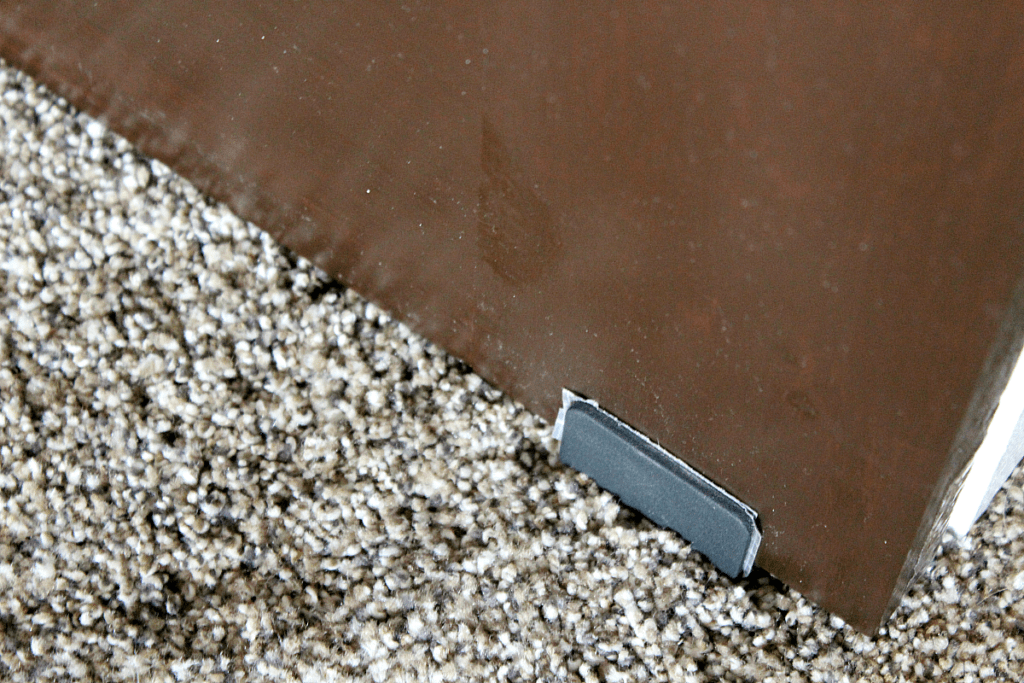
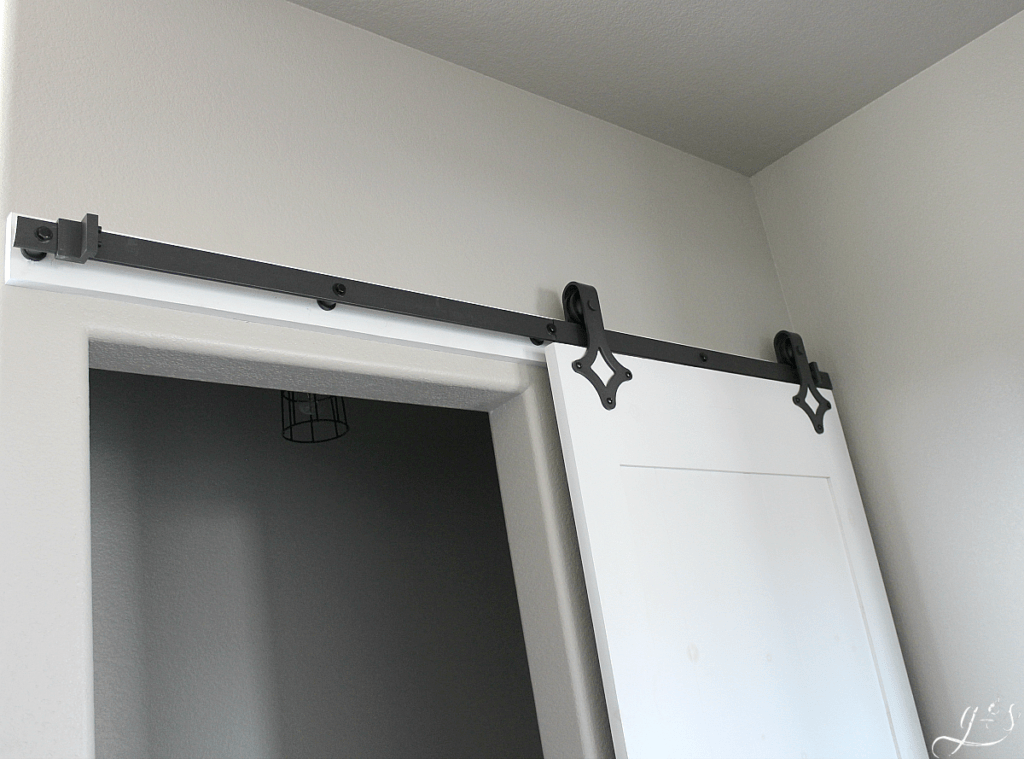
We purchased our barn door hardware from Amazon. Both the hanging hardware and the floor guides have served us well with both doors.
We hope this DIY Painted Barn Doors tutorial has been helpful and you have the confidence to recreate this look within your own home!
IF YOU HAVE QUESTIONS ABOUT HOW TO PAINT BARN DOORS , BE SURE TO LEAVE THEM IN THE COMMENTS. WE WILL BE HAPPY TO ANSWER THEM!






I’m trying to figure out how much chalkboard paint I will need for a barn door 42 x 84. What size is the one you have (painted white) and how much chalkboard paint did you need? How about for the stained one as well. Thank you!!
Hi Bina! I used a one quart container of chalkboard paint and gel stain for our doors that are 36×80. Though I think I still had some leftover in the container when I was done. Best of luck! I think you will love the outcome!