Dreamy IKEA Kitchen Design
When we started the process of building our home and finalizing our blueprints, all I wanted to do was tinker with my IKEA kitchen design.
My goal was to make it as functional and beautiful as I possibly could while staying within our budget. Our kitchen and family area of our home is where we decided to put the majority of our budget, compared to the bedrooms and bathrooms.
Some families can’t live without a fancy master suite, while our family values the living room, dining room, and kitchen most! To each their own. That’s what makes home builds so fun. 🙂
The idea of an IKEA kitchen was appealing because I knew their cabinetry was extremely customizable and their products are priced well.
FYI…We live at least 6 hours from the nearest IKEA and I had never in set foot in one before this dream of building a home became a reality.
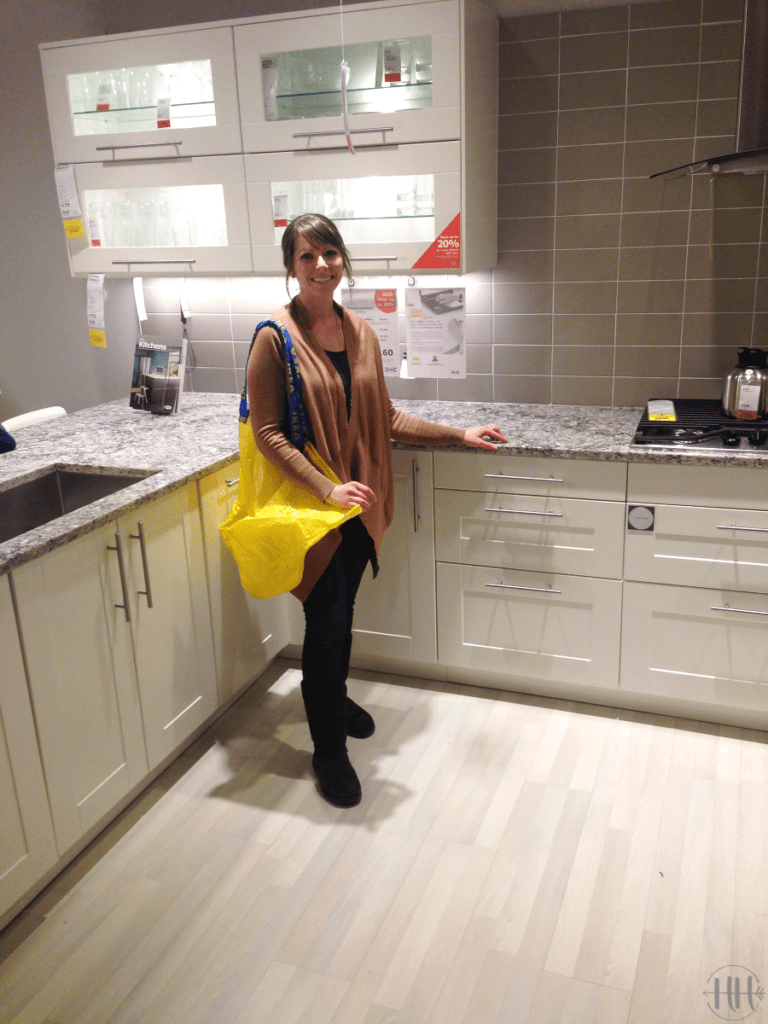
After designing our kitchen for months with the online IKEA kitchen planner, Ryan and I took a weekend trip to Denver to finalize our plans with an IKEA kitchen specialist. I set up a time to meet with them which was helpful because the gentleman had a few ideas that I did not think of.
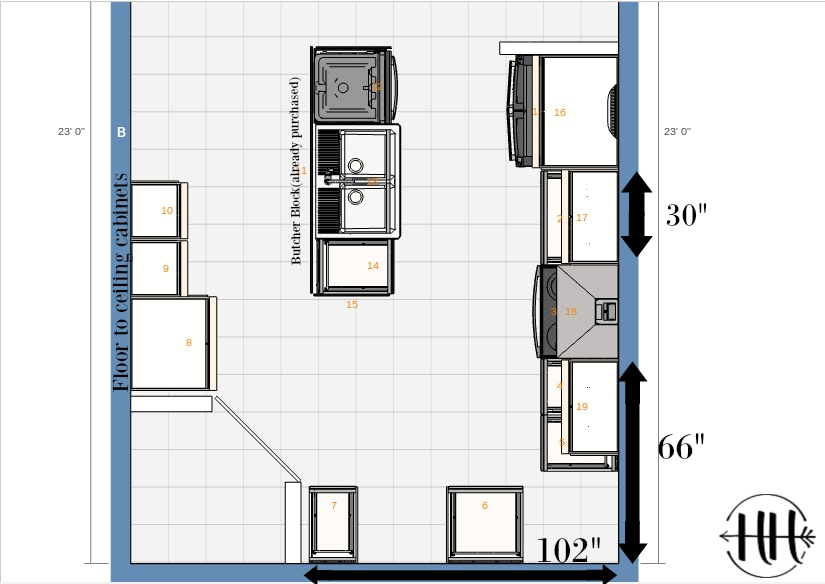
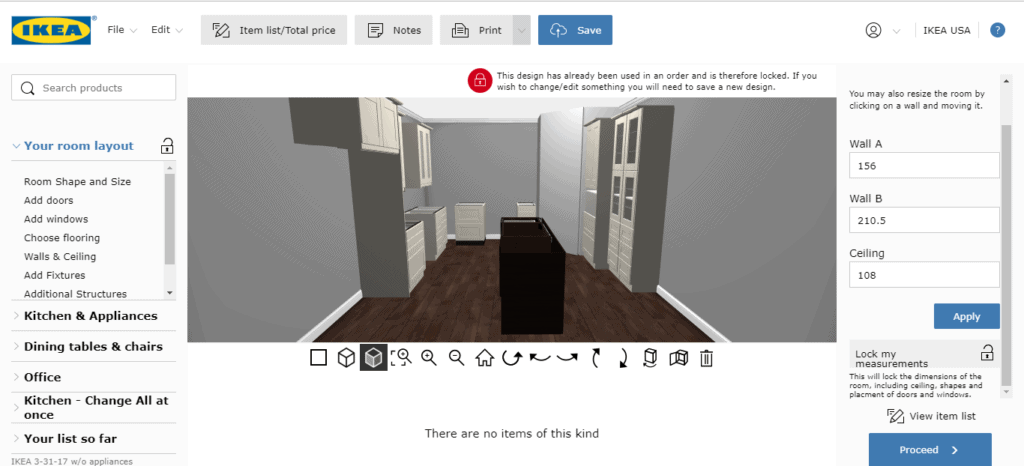
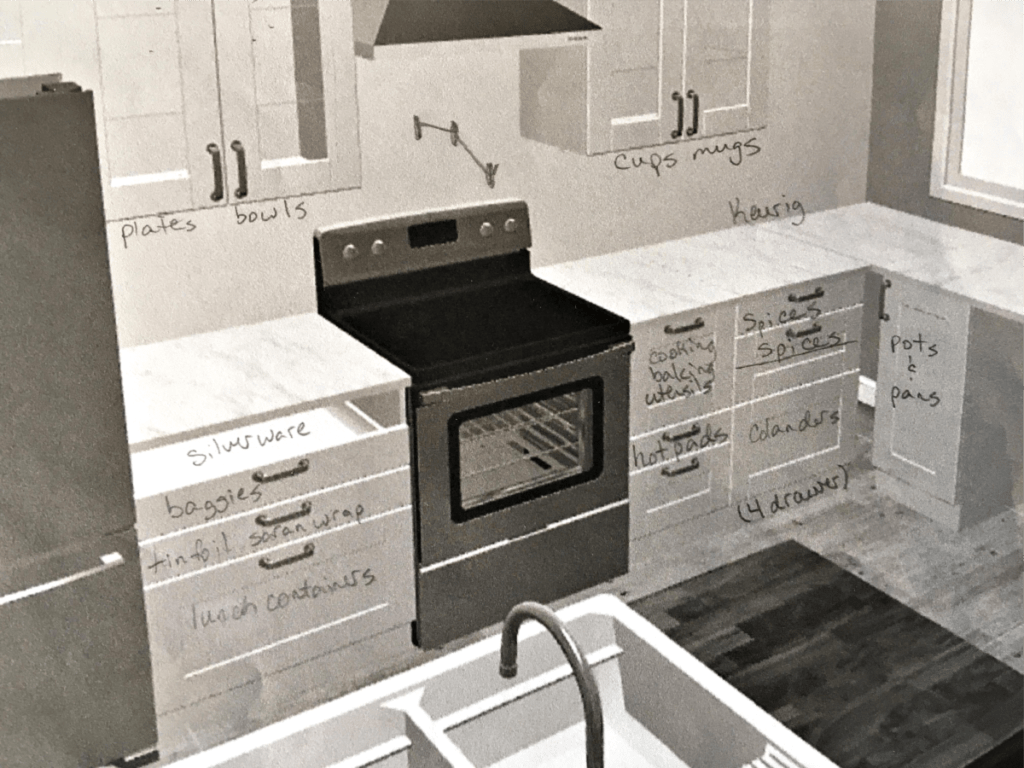
I highly recommend printing out your IKEA kitchen layout and writing down where all of your kitchen essentials will go.
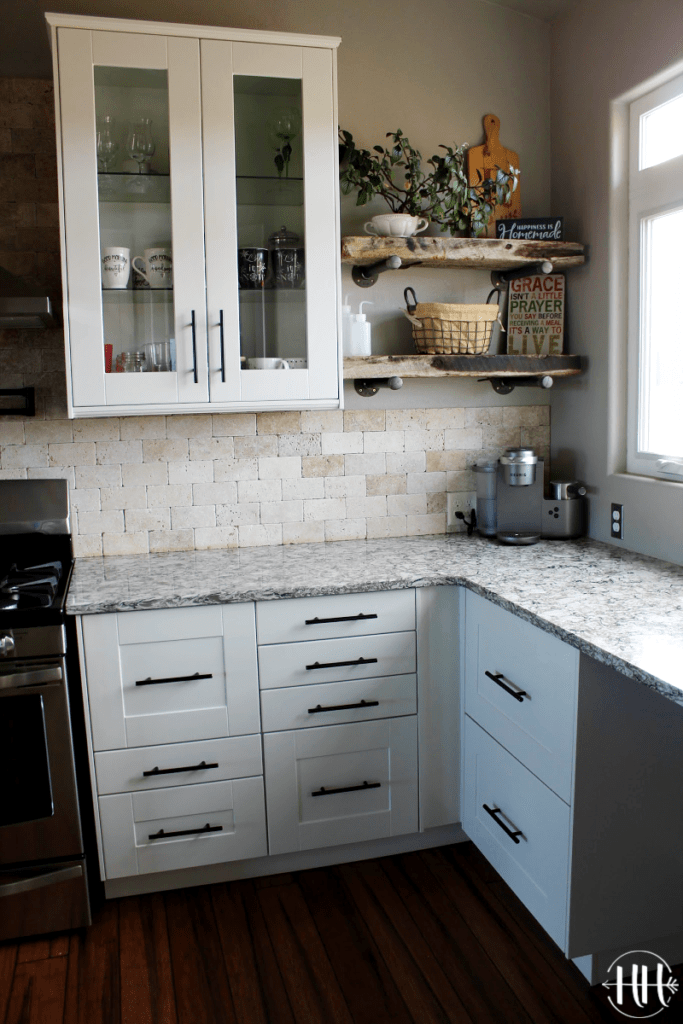
For instance, I do not like much sitting out on my counters. For that reason, I chose to have a deep drawer next to the stove for my spatulas and cooking utensils so I didn’t have a large crock sitting on my counter.
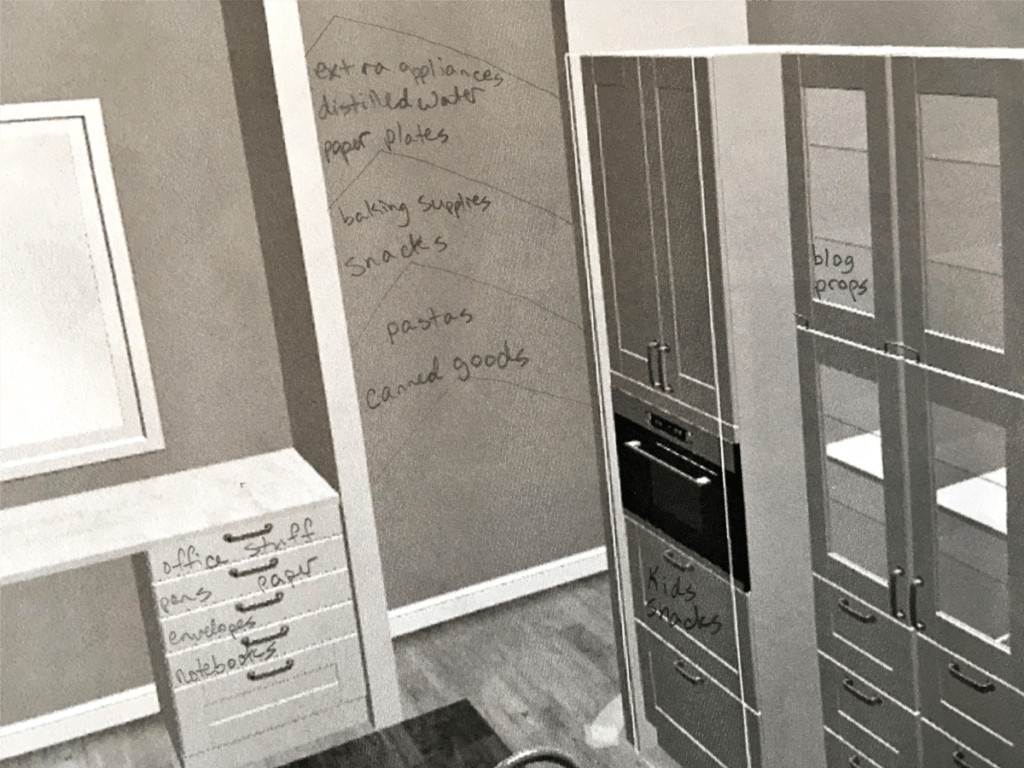
I also knew that my blog props would look pretty displayed behind glass doors so we opted to have glass doors in some of our wall cabinets.
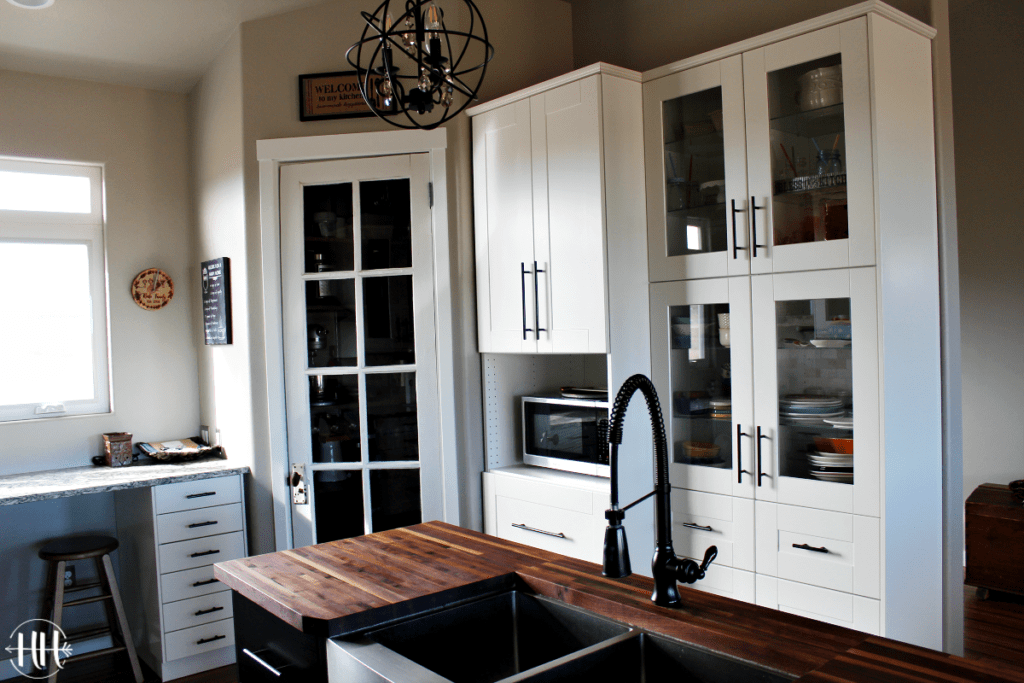
The kitchen island is something I am still swooning over.
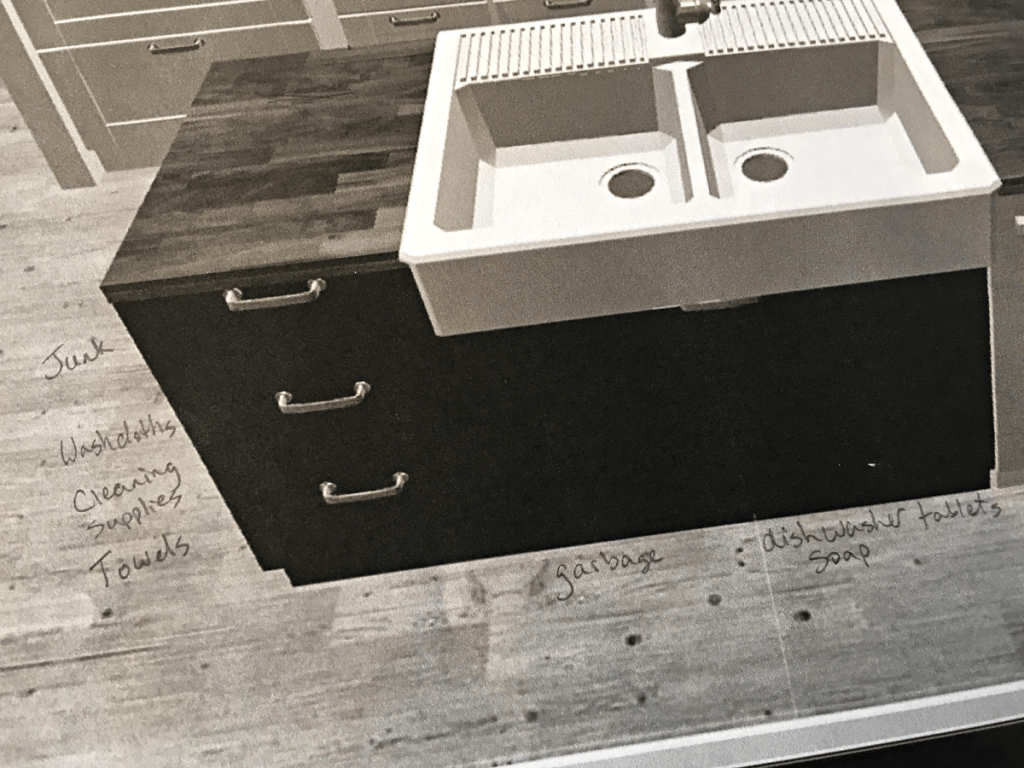
We chose to do a black island with butcher block countertop, stainless steel farmhouse sink, and antique bronze faucet.
Under the sink is a garbage/recycling drawer which also holds the dishwasher tabs. It was important to me to have the drawers beside the sink for washcloths and towels.
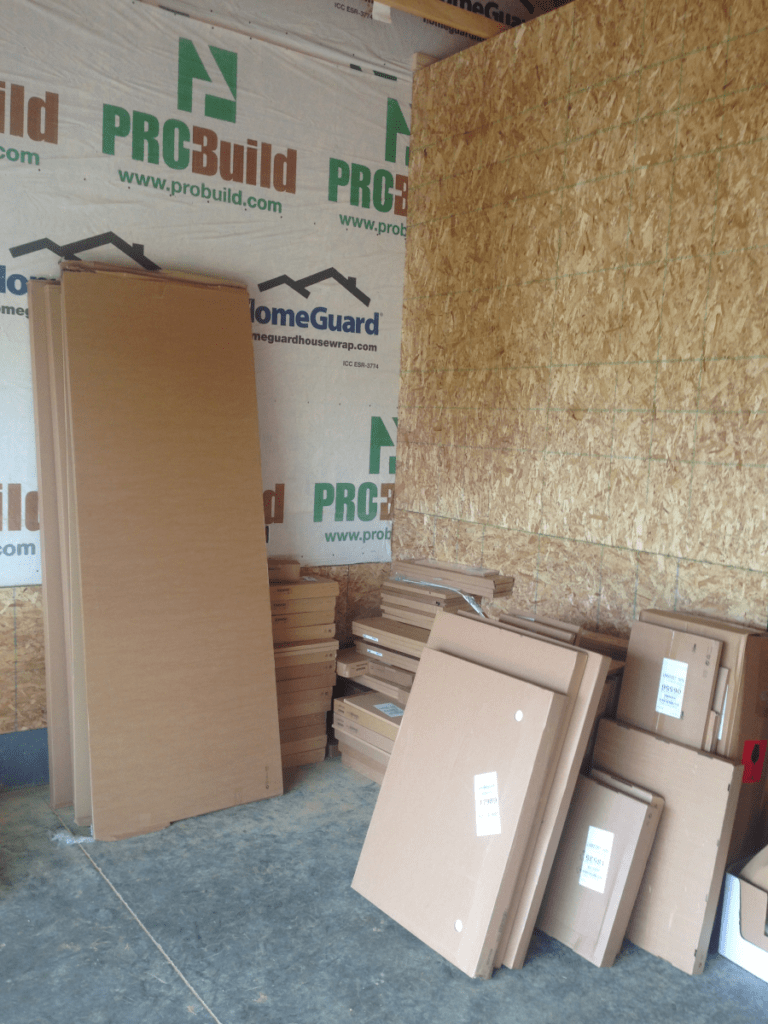
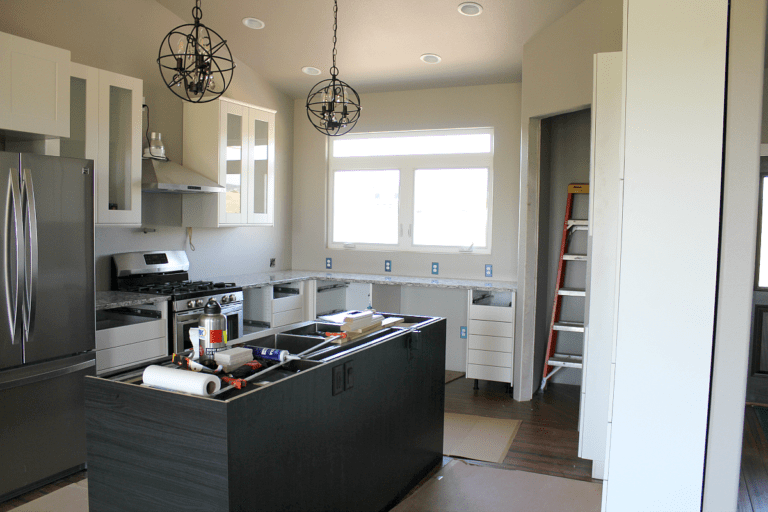
Our Kitchen is FINALLY Here!
You have no idea how incredibly excited I was to FINALLY see the STI semi truck coming down our road.

After ordering the cabinets with a sales associate over the phone, things quickly went down hill.
My IKEA kitchen design process was a breeze while the shipping was an absolute nightmare. NIGHTMARE.
Our cabinets did not arrive when they were supposed to and the customer service IKEA offered was less than helpful.

There is an extreme disconnect between the IKEA ordering department and their shipping center.
I eventually lost track of how many phone calls, tears, and hours I spent on hold with IKEA. It was by far the most frustrating situation of the entire build for me.
Despite this, I still recommend IKEA kitchens because I am so happy with the end result. Call me crazy. 😉
In hindsight, Ryan and I wish we would have picked up our cabinets ourselves when we went to Denver. However, the cabinets along with our flooring from Lumber Liquidators was too heavy to haul back home together so we opted to have the cabinets shipped to us.
Even with shipping costs, the cabinets were very affordable thanks to their semi-annual Kitchen Event sale.
They typically offer this huge sale (20-30%) in the fall and spring.

Our family saved 20% on the cabinetry which knocked $1000 off our invoice. The final price we paid for our cabinets was $4200.
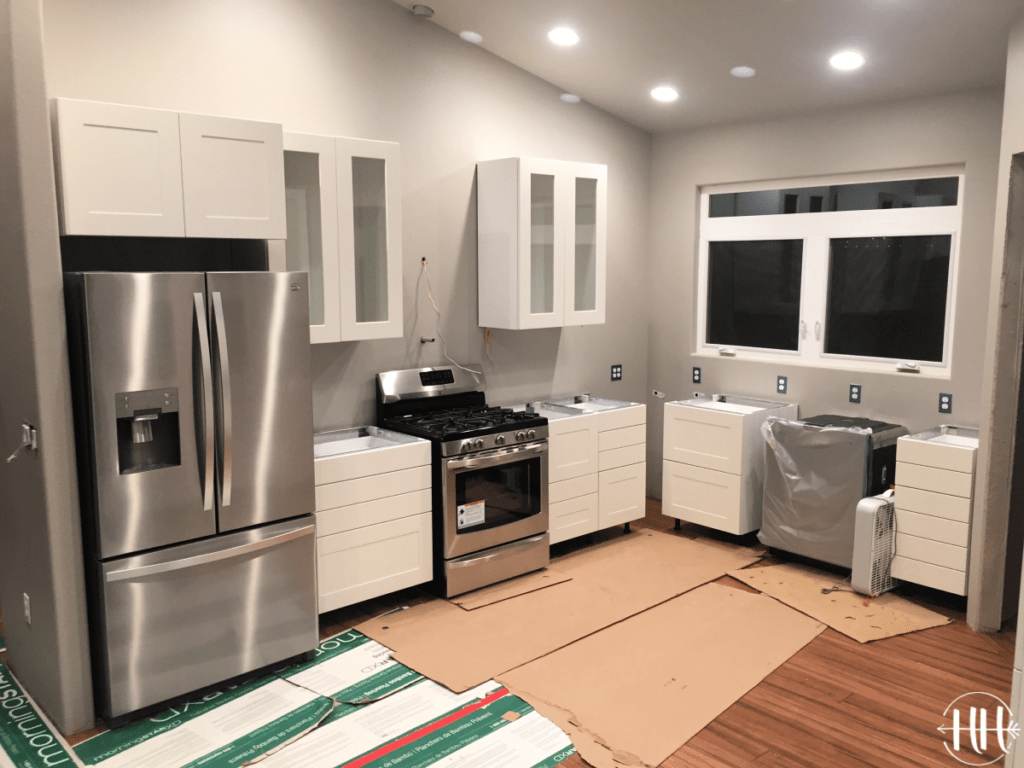
Building the Cabinets
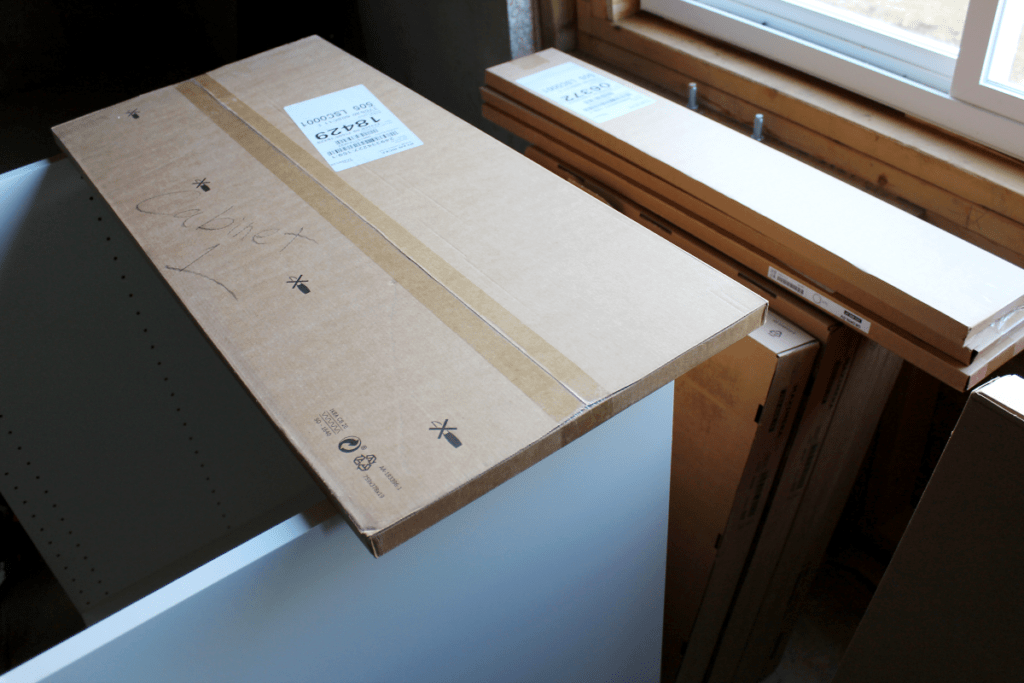
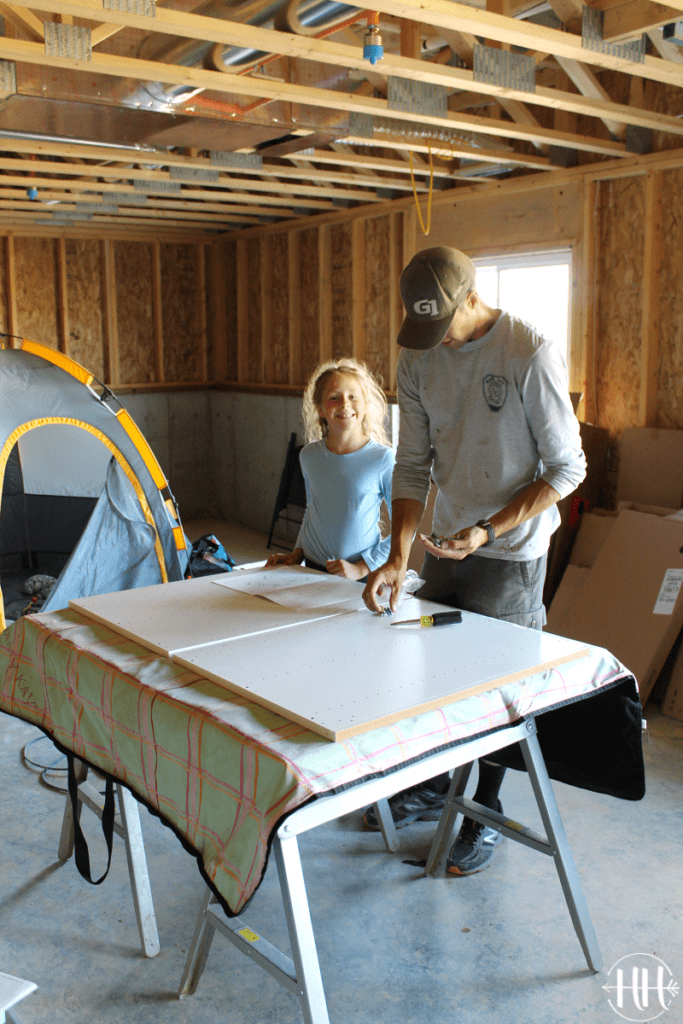
Look at those cuties! We built the cabinets downstairs and brought them up when we were ready to mount them.

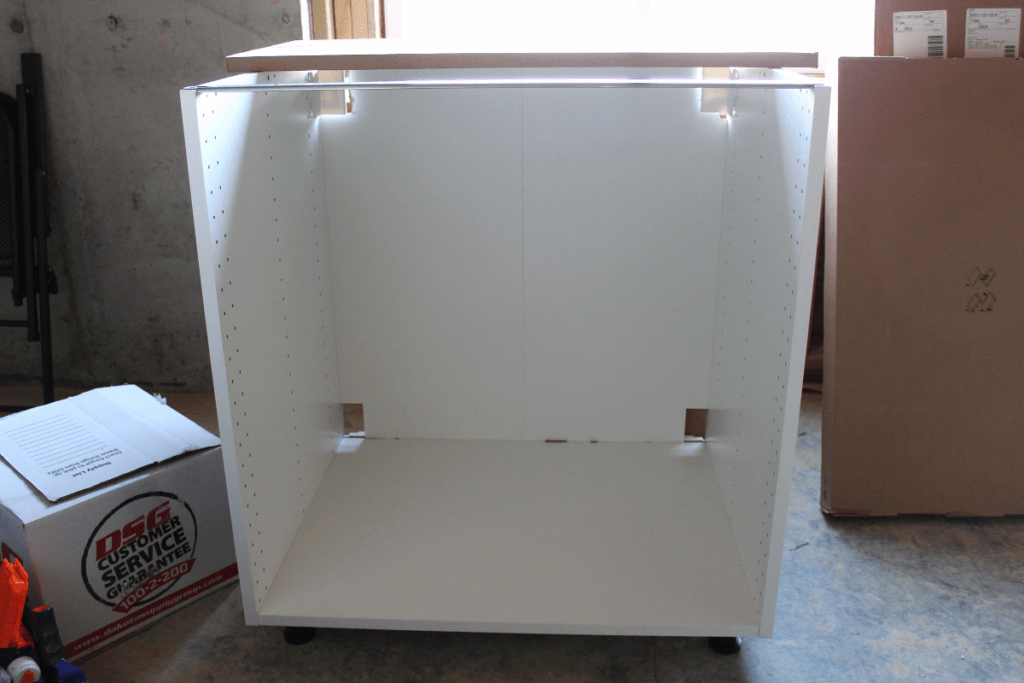
Cabinet base #1 is done!
Unfortunately, I am not able to find the photos of us hanging the cabinets on the walls using the IKEA rail system. It was a very easy process though!
Here is a wonderful article to see exactly how it is done!
My family spent MANY nights at the end of the house build putting together the kitchen, installing flooring, trimwork, and many other things to make this house our home.

Our kids were so helpful with all the projects we had to do each day and incredibly patient with the 12 hour days we spent together working.
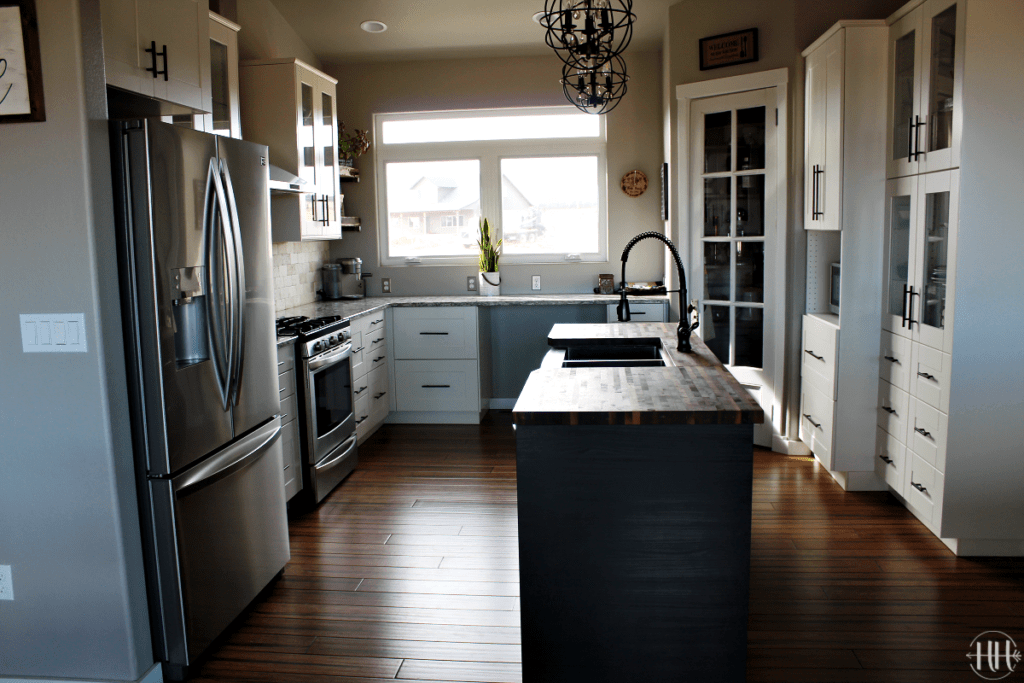
Our IKEA kitchen design paid off in the end and I am over the moon to share the “after” photos with you!
My Dreamy IKEA Kitchen
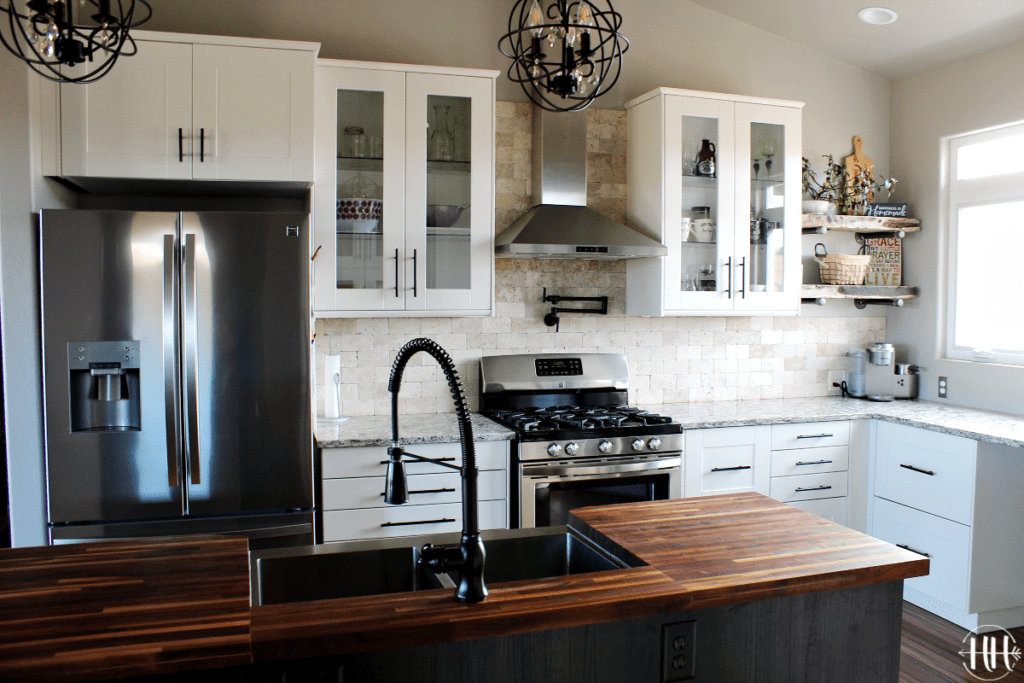
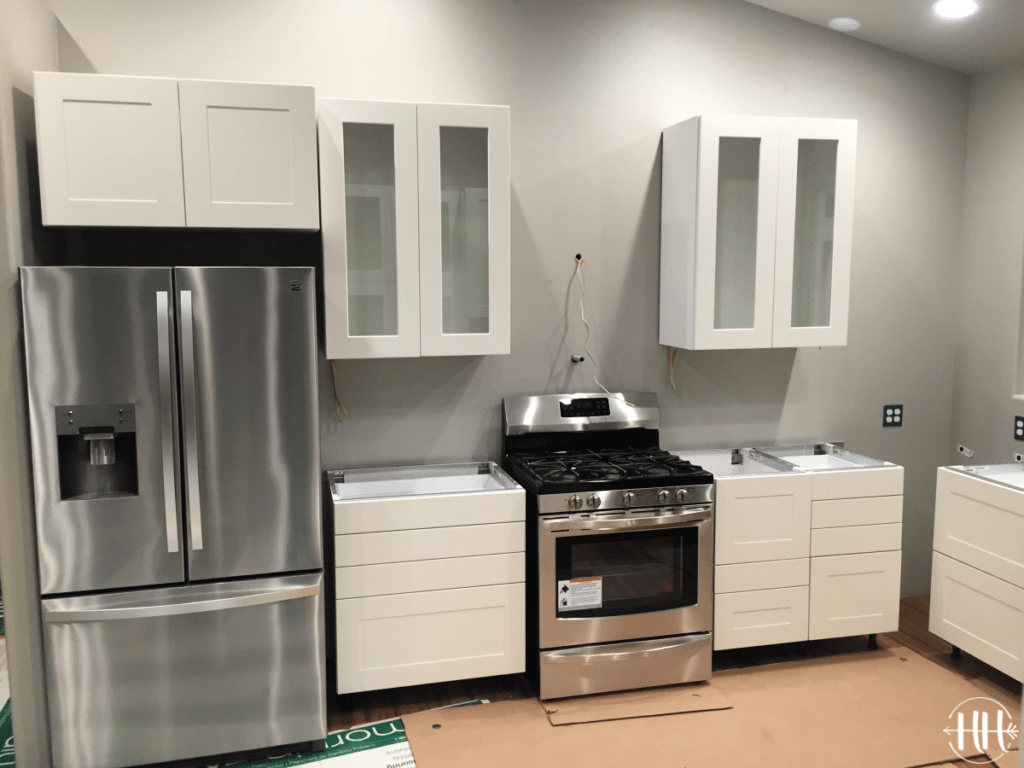
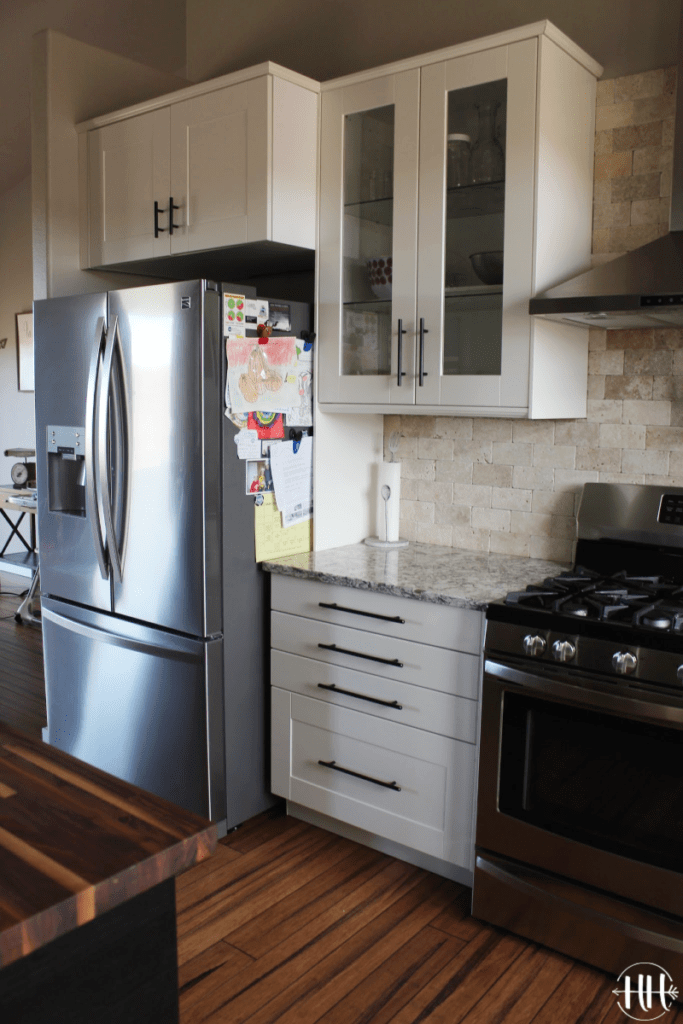
The base cabinets are white SEKTION frames with GRIMSLÖV drawer fronts and GRIMSLÖV glass doors in off-white. The counter top is Cambria Quartz in Bellingham from Creative Surfaces.
The island cabinets are IKEA TINGSRYD wood effect in black. Our butcher block is from Lumber Liquidators.
We chose a solid bamboo flooring from Lumber Liquidators and you can learn about it HERE.
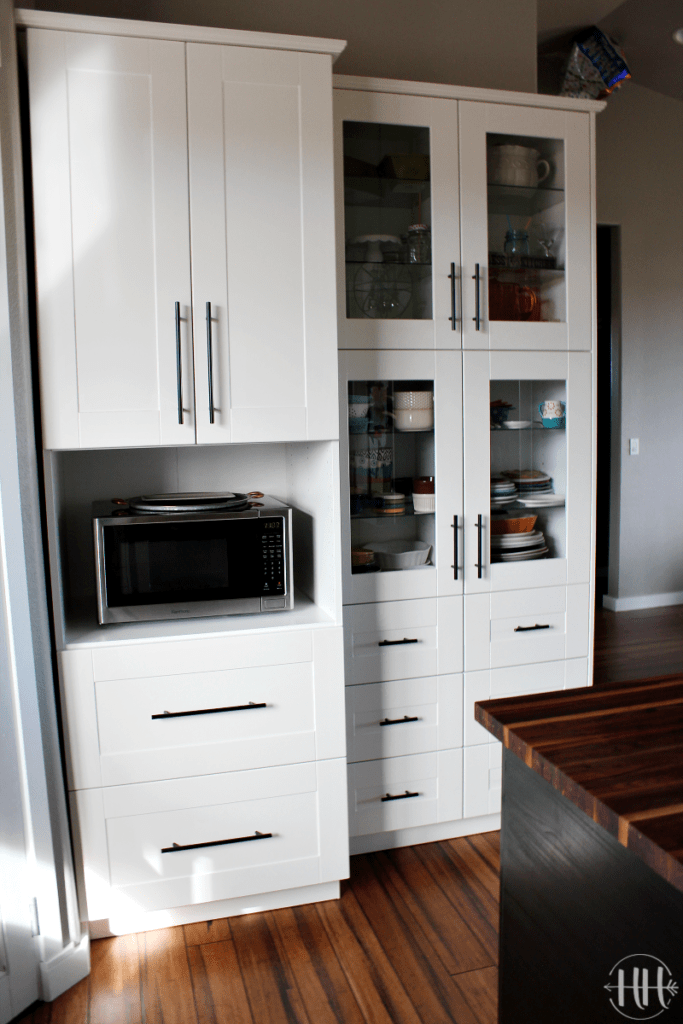
Below is our microwave cabinet with two narrow cabinets with glass doors for all of my blog props.
Please ask us any questions you may have down in the comments or via our contact form.


Hi! Is the tall cabinet you used for your kitchen a 30 x 24 x 90? If so, could you tell me the interior dimensions of the microwave space? Your kitchen turned out amazing!
Hi Stephanie! Thanks for for your kind words. 5 years later and we are still enjoying that space in our home. 30x24x19.5″ are the dimensions of the microwave space. Hope this helps! Good luck on your kitchen. 🙂
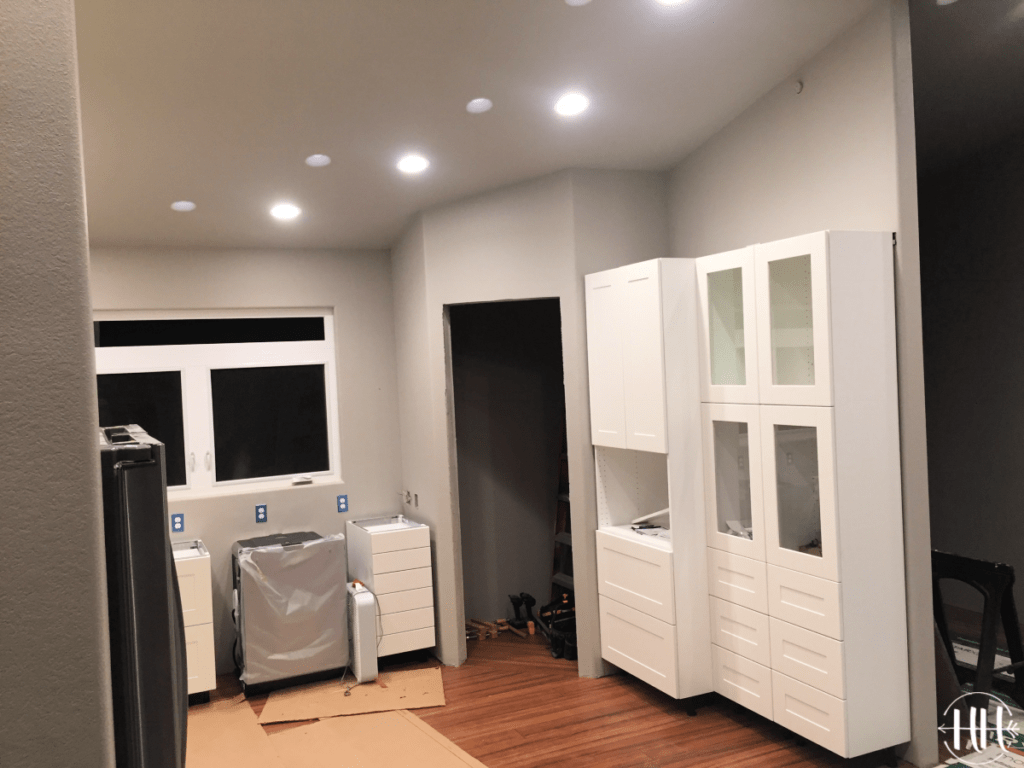
What did you do for your corner pantry, shelves, cabinets??? Can’t find any great pics using Ikea cabinets & shelves for that size. Mine looks the same, 4’x4’x2′ either side of door.
Hi Heidi! We used bulk laminated shelving from Menards on adjustable tracks (that match the grey wall color) and overlapped the planks in the corner. We have 4 shelves in widths of 12″ (2 of them), 10″, and 8″ on top. It is nice to be able to move the shelving to different heights when needed for new appliances and storage. I hope this helps. If you would like me to e-mail photos send me a message at [email protected] 🙂 Blessings!
On the two tall cabinets to the right of the pantry door, does the shallow next to the deep cause any issues with the doors or drawers on the shallow one? I have a similar arrangement in my kitchen plan and I’m not sure if I should use a panel between to give a little clearance or if that’s not necessary. Thanks.
Hi Kevin! Awesome question. I have only had a couple times in 4 years that the shallower cabinet drawers hit the microwave cabinet (no damage though!). I may have been in a rush or pulled the drawer to that side when I closed it. So it may be a good idea to add a panel in between just in case as it is a VERY tight fit between cabinets. That’s so smart to have thought of it. Well done! Blessings to you in your kitchen! We have been extremely happy with ours.
Your microwave link looks different then what you installed. Did you list not add the black parts? It looks like it’s designed for a built in microwave?
Hi Amanda! I just looked at the link and it is the same cabinet that we installed. There were no black “filler pieces or support brackets” in our cabinet boxes. This must be a new feature to frame in your microwave or buy one from them. However, I am sure you can just leave them off. Hope this helps! 🙂
Beautiful job? Do you mind telling me what flooring you used?
Mary-Anne
Hi Mary-Anne! I would love to share our flooring choice with you. 🙂 Here is the post: https://happihomemade.com/diy-solid-bamboo-wood-flooring/ Blessings!
Hi. Can you explain the cabinet with the microwave in it? I
Yes! Here is the link to the exact cabinet we installed for the microwave. Please let me know if you have further questions. Thanks! https://www.ikea.com/us/en/p/sektion-hi-cb-f-micro-w-2-drawers-2-doors-white-grimsloev-off-white-s99390482/