Easy Sourdough Starter Recipe
There’s nothing quite like the smell of homemade sourdough bread baking in the oven. However, before you can sink your teeth into a freshly baked loaf and enjoy that chewy crumb and golden crust, you need one key ingredient: a sourdough starter. This easy sourdough starter recipe will walk you through everything you need to know, from what a starter actually is to how to make, feed, and store it. By the time we’re done, you’ll have an active, stable sourdough starter and can start baking with confidence!
What Is a Sourdough Starter?
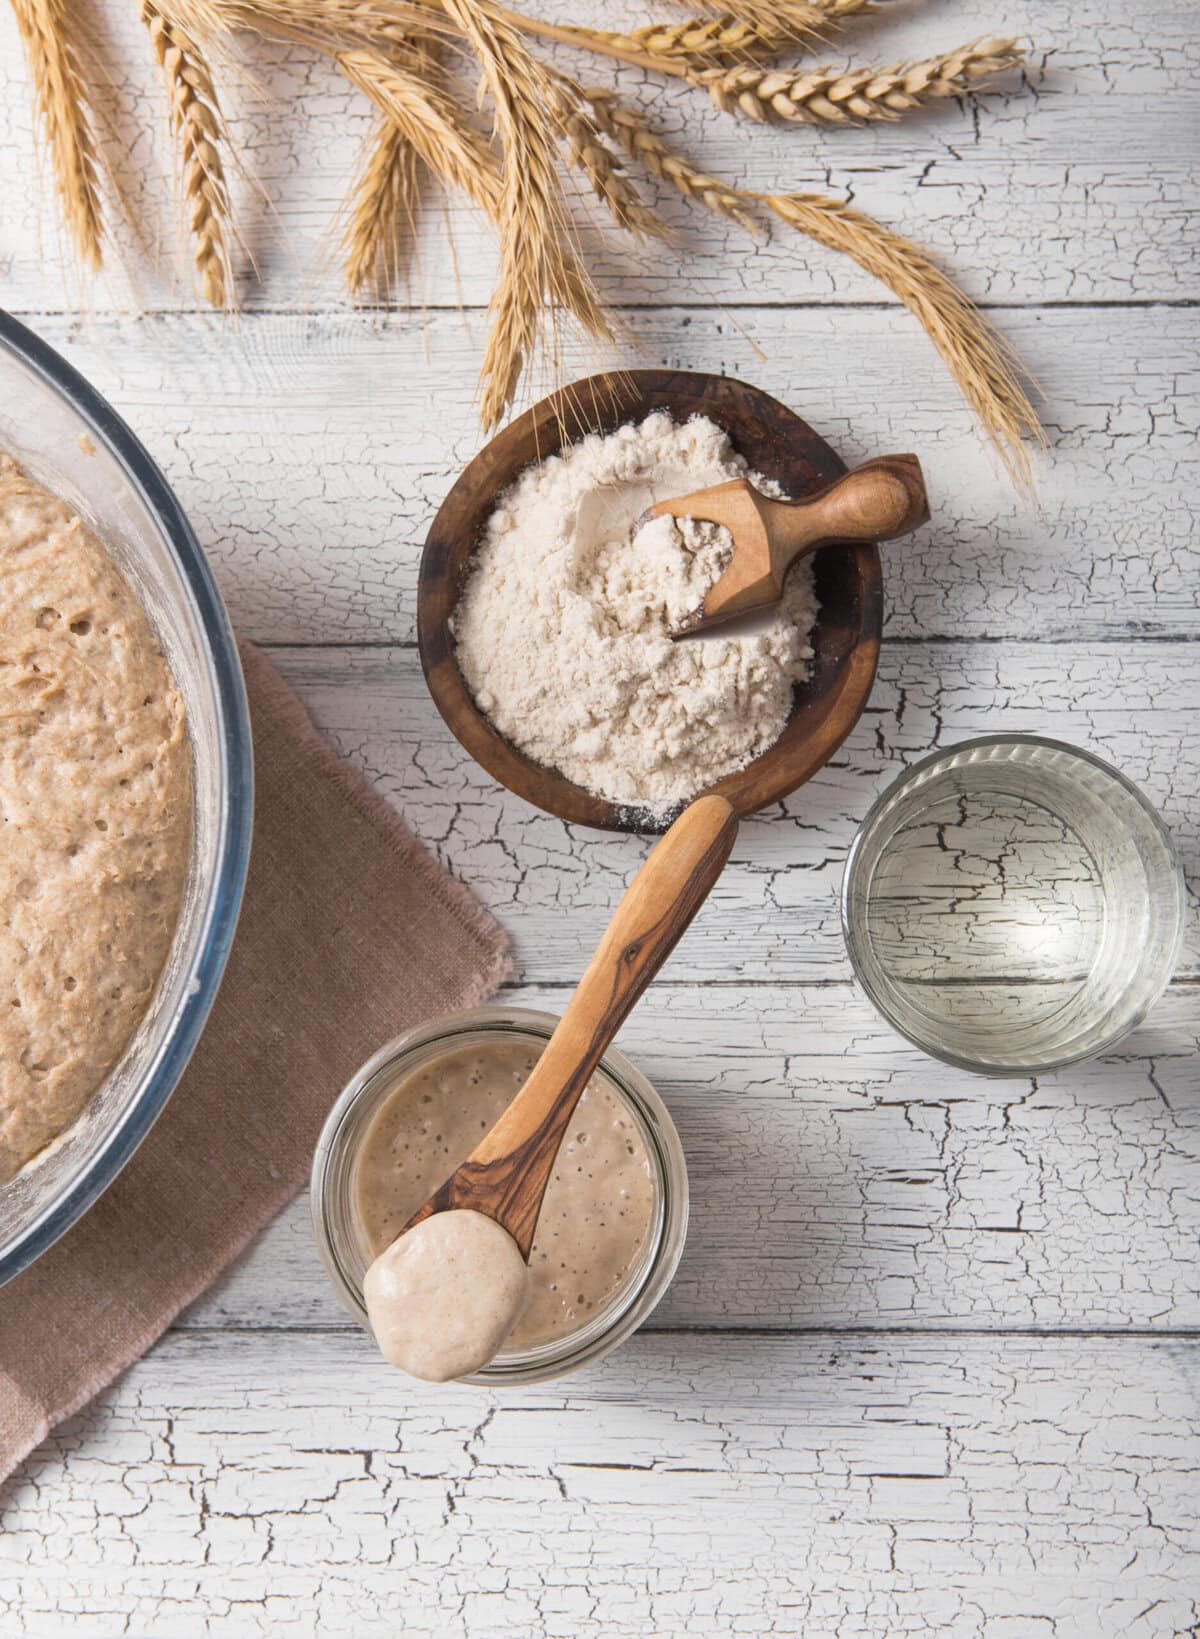
A sourdough starter is a simple mixture of flour and water that captures wild yeast and beneficial bacteria from the air and your kitchen environment. Over time, this living culture becomes bubbly and active, providing the natural leavening needed to make sourdough bread rise. Unlike other types of bread, there’s no commercial yeast required!
Think of it like a little ecosystem in a jar. Once established, your starter becomes the base for all kinds of recipes, from classic sourdough bread loaves to pancakes, crackers, and even pizza dough. You can even use the excess, known as sourdough discard, to make recipes, too!
How Long Does It Take to Make a Starter?
Making a sourdough starter from scratch usually takes 5–7 days. However, this timeframe can vary, being longer or shorter, depending on your kitchen temperature and the type of flour you use. The good part is, as long as you continue to feed it, once your starter is stable, you don’t have to go through the process again. Here’s an overview of the process:
- Day 1–2: You’ll start to see small bubbles as natural yeast wakes up.
- Day 3–4: Your starter should double in size between feedings and smell pleasantly tangy.
- Day 5–7: It’s typically strong enough to bake bread once it consistently doubles in volume after each feeding.
How to Tell If Your Starter Is Ready
You’ll know your sourdough starter is ready to start baking when:
- It doubles in size within 4–6 hours of feeding.
- It has a pleasant, slightly tangy aroma (not sour or unpleasant).
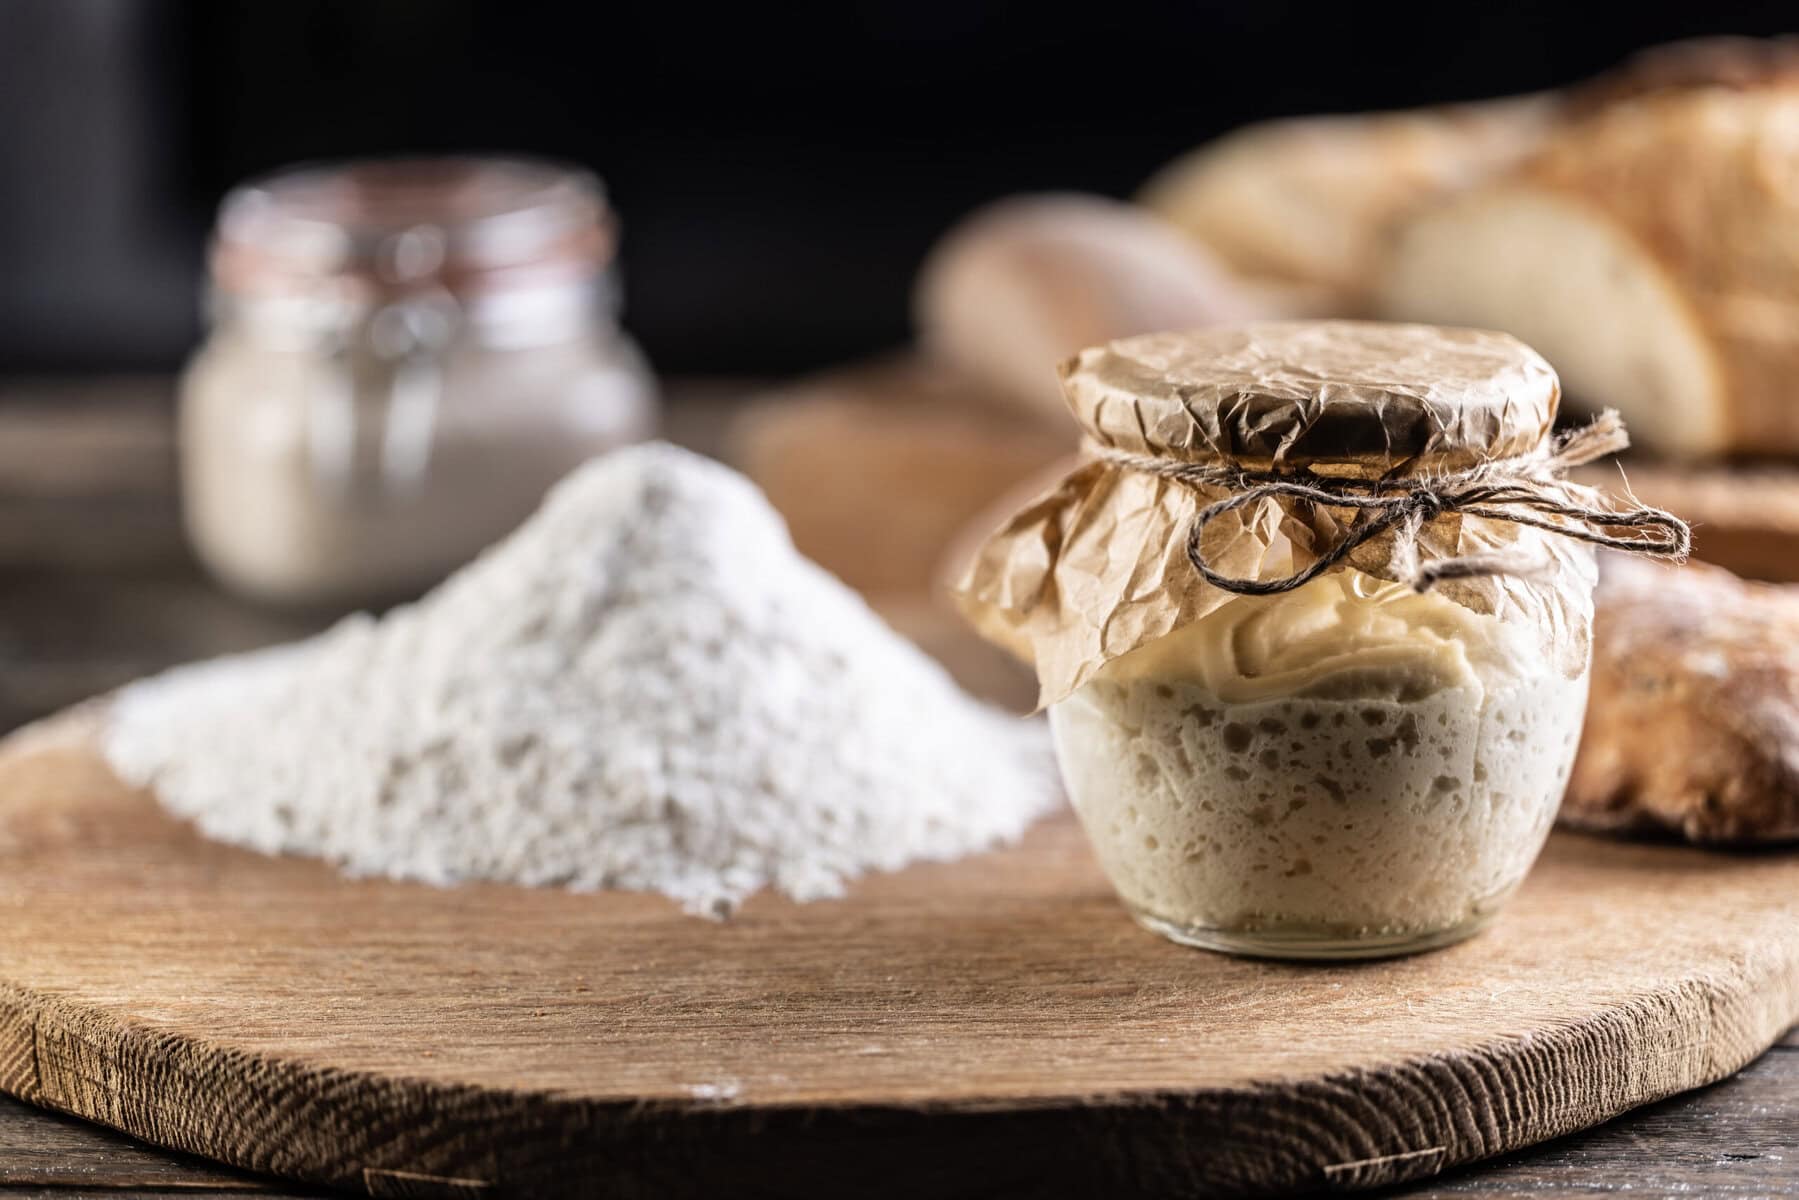
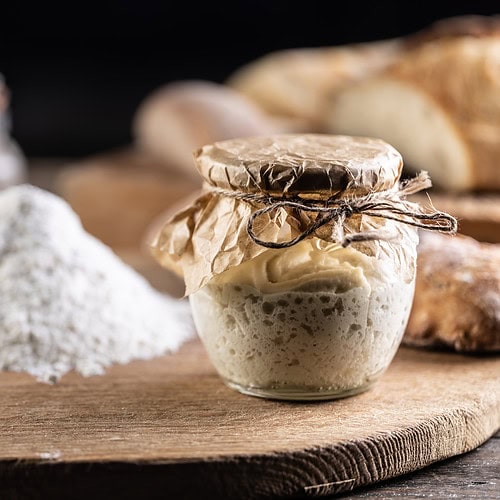
- It’s bubbly and airy, with visible activity on the surface and throughout.
- It passes the “float test”: drop a small spoonful of starter in a glass of water—if it floats, it’s ready to leaven bread.
Tools You’ll Need
The best part about this sourdough starter recipe is that you don’t need fancy equipment. Here’s what we recommend when getting started:
- Glass jar or container (at least 1 quart, wide-mouth works best)
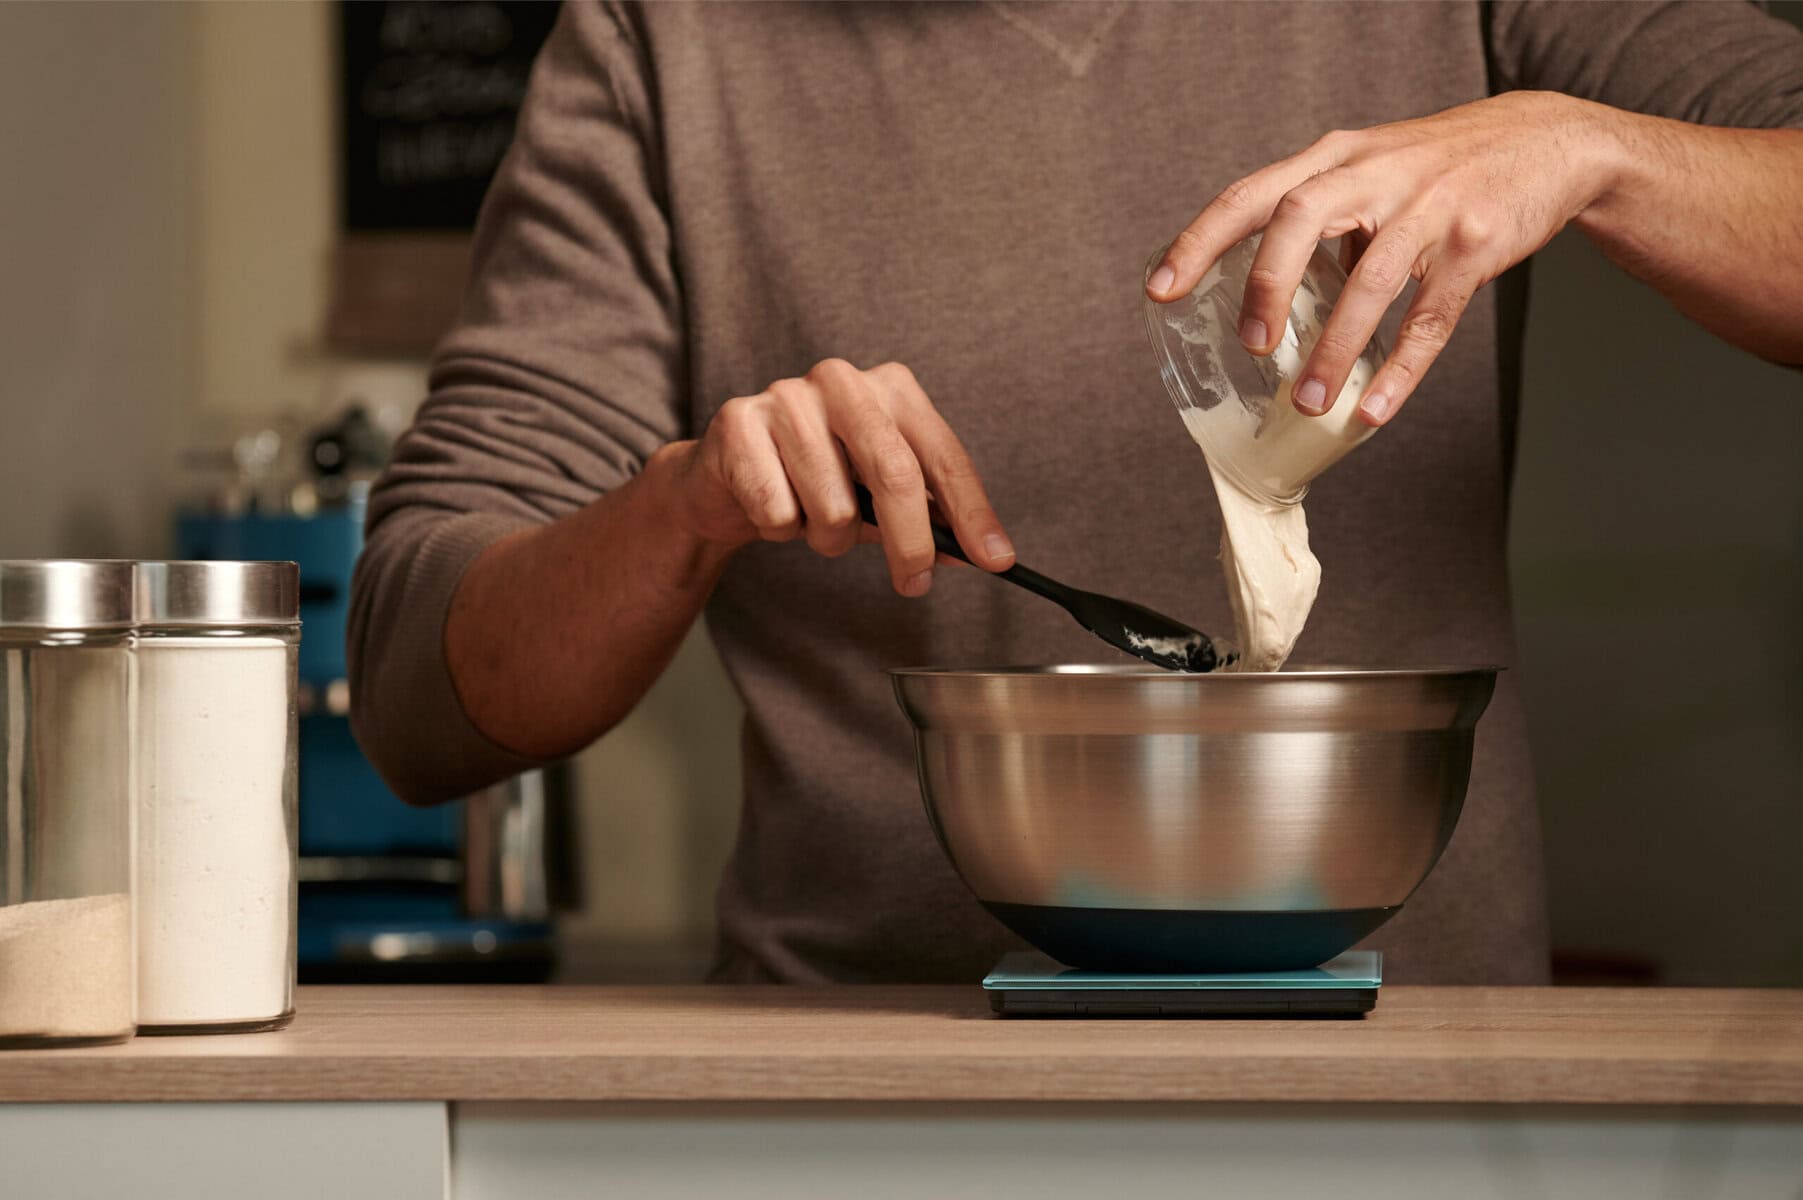
- Digital kitchen scale (for accuracy)
- Spoon or spatula for stirring
- Clean kitchen towel or breathable lid to cover
- Rubber band or jar marker to track growth
How to Make a Sourdough Starter
Here’s a simple step-by-step guide to creating a sourdough starter from scratch. Please be sure to scroll down to the recipe card for the complete details!
Ingredients
- 120 g (1 cup) whole wheat or rye flour (Day 1, then switch to all-purpose after)
- 120 g (½ cup) filtered water (Do NOT use tap water! Chlorine and chloramine, chemicals used to disinfect tap water, can kill the beneficial yeast and bacteria in a sourdough starter. This hinders its growth and ability to leaven bread.)
Day 1
- Mix flour and water in a clean jar until no dry bits remain.
- Cover loosely and let sit at room temperature (around 70–75°F).
Day 2–7
- Discard half of the starter (about 120 g).
- Add 120 grams of fresh flour and 120 grams of filtered water. Mix well, cover, and let sit.
- Repeat every 24 hours, switching to all-purpose flour after Day 1.
By Day 5–7, your sourdough starter should be bubbly, active, and ready to bake in your first loaf of bread!
How to Feed a Sourdough Starter
Once your starter is established, it needs regular feedings to stay healthy:
- At room temperature (daily baking): Feed once every 24 hours.
- In the refrigerator (occasional baking): Feed once a week. Remove from the fridge, discard half, feed as usual, and let it become active before baking.
Pro tip: Always feed with equal parts flour and water by weight (1:1:1 ratio starter: flour: water works well).
How to Store Your Starter
You can store your sourdough starter either:
- On the counter: Perfect if you bake daily or every few days. Just feed it daily to keep it active.
- In the fridge: Best for occasional bakers. Feed once a week and revive with a few room-temperature feedings before baking.
If you ever forget to feed it, don’t worry! Starters are resilient. With a few consistent feedings, most can bounce back.
Final Tips for Success
- Use filtered or dechlorinated water (chlorine can inhibit yeast growth).
- Stick to glass or food-safe plastic containers (avoid metal long term).
- Don’t stress about perfection. Starters are hardy and forgiving.
- Name your starter! It makes the process more fun and personal.
Sourdough Starter Recipe
Yield: 1 starter, ready in 5–7 days
- Mix 120 g whole wheat flour + 120 g water in a jar. Cover and rest 24 hrs.
- Each day, discard half and feed with 120 g flour + 120 g water.
- Repeat daily until bubbly, doubled, and ready to use (Day 5–7).
Common Questions
A warmer kitchen and whole-grain flour usually help starters develop faster.
A strong tang is normal, but if it smells rotten or moldy, start over.
Yes, but it will behave differently and may need more frequent feedings.
More Kitchen Basics
Easy Sourdough Starter Recipe
Equipment
- 1 quart mason jar
Ingredients
- 120 grams (1 cup) whole wheat or rye flour (Day 1, then switch to all-purpose after)
- 120 grams (½ cup) filtered water (Do NOT use tap water! Chlorine and chloramine, chemicals used to disinfect tap water, can kill the beneficial yeast and bacteria in a sourdough starter.)
- all purpose flour (for feeding the starter Day 2-7)
Instructions
Day 1
- Mix flour and water in a clean jar until no dry bits remain.120 grams (1 cup) whole wheat or rye flour, 120 grams (½ cup) filtered water
- Cover loosely with a paper towel or cloth and let sit at room temperature (around 70–75°F).
Day 2-7
- Discard half of the starter (about 120 g).
- Add 120 grams of fresh flour and 120 grams of filtered water. Mix well, cover loosely, and let sit.all purpose flour , 120 grams (½ cup) filtered water
- Repeat every 24 hours, switching to all-purpose flour after Day 1.
- By Day 5–7, your sourdough starter should be bubbly, active, and ready to bake in your first loaf of bread!
Notes
- At room temperature (daily baking): Feed once every 24 hours.
- In the refrigerator (occasional baking): Feed once a week. Remove from the fridge, discard half, feed as usual, and let it become active before baking.
- On the counter: Perfect if you bake daily or every few days. Just feed it daily to keep it active.
- In the fridge: Best for occasional bakers. Feed once a week and revive with a few room-temperature feedings before baking.
Nutrition
Did you find this Sourdough Starter Recipe guide helpful? We’d love it if you left a rating and review to let us know, and don’t forget to tag us in your recreations on Instagram!

We love all things sourdough and this easy beginner’s guide is so helpful!! Let the baking commence!