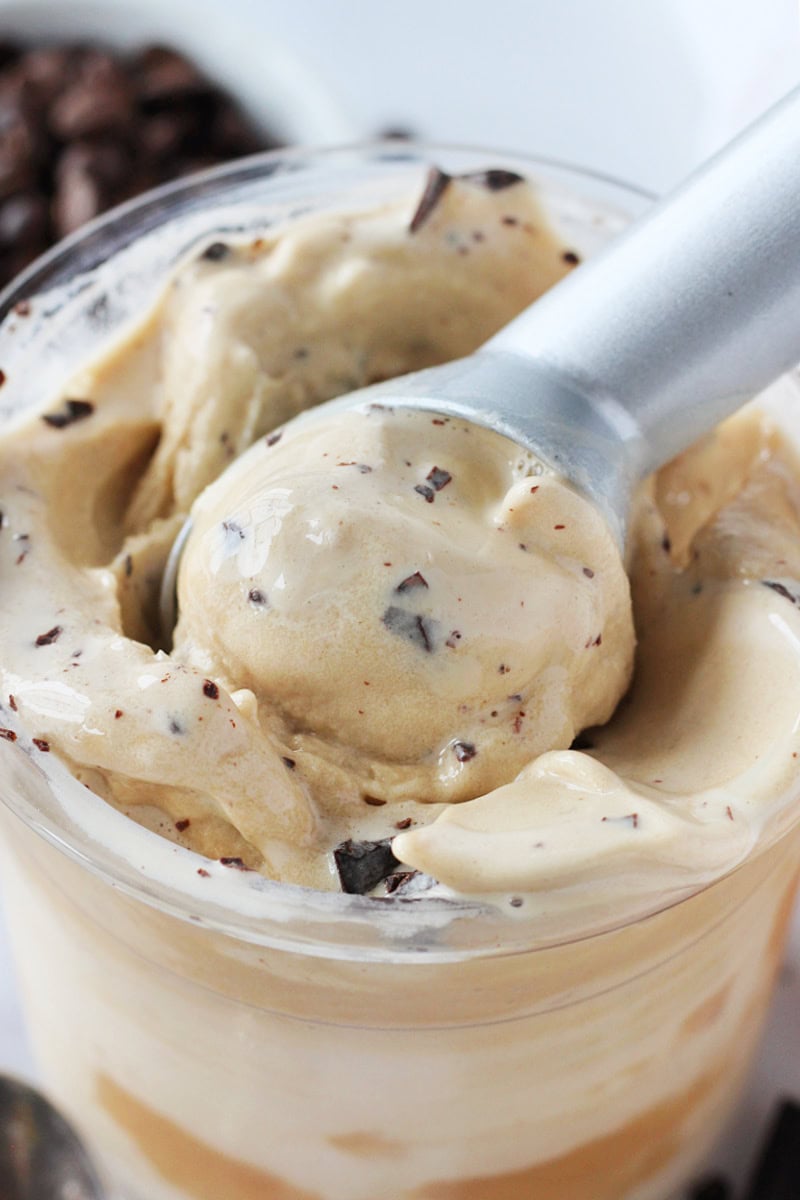
Ninja Creami Espresso Ice Cream
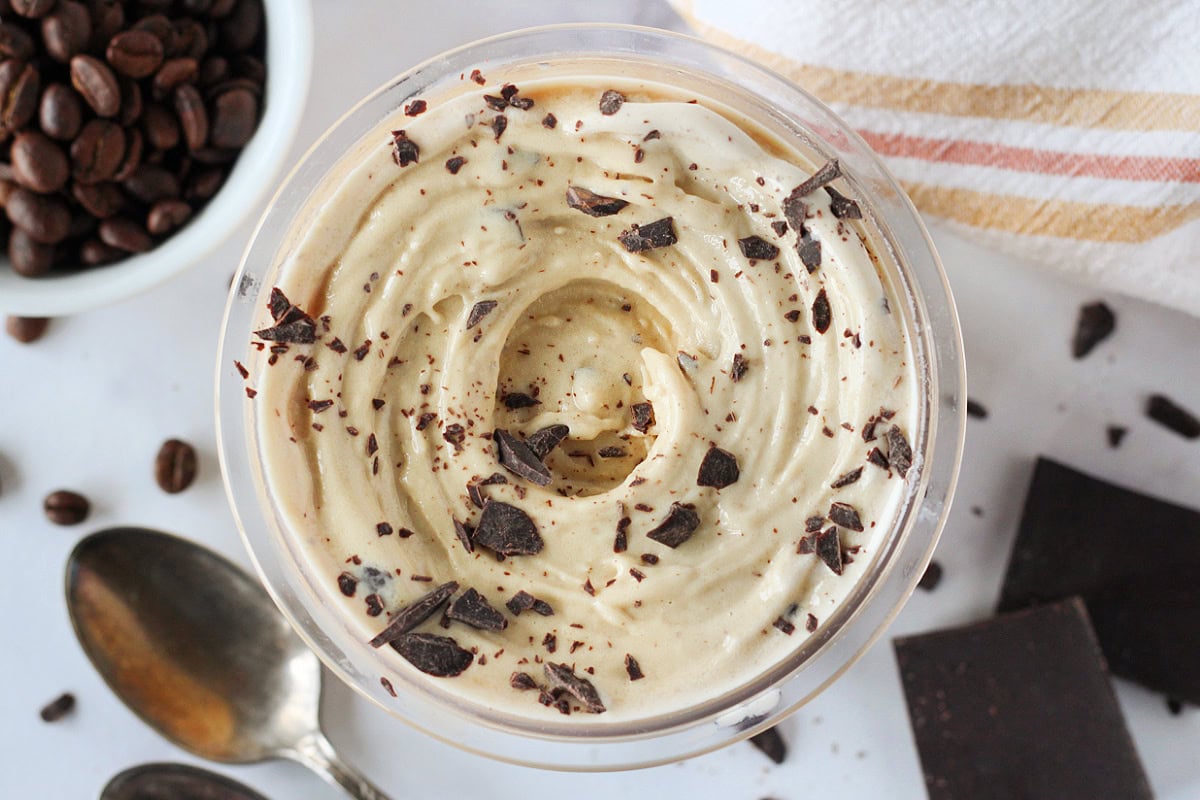
Our Ninja Creami Espresso Ice Cream recipe features a coffee-flavored base and rich chocolate chips in every bite. Rich and creamy, it tastes even better than store-bought options and provides over 50 grams of protein!
Love your Ninja Creami? Try our Cookies and Cream Ice Cream and Ninja Creami Chocolate Ice Cream next!
Espresso ice cream, otherwise known as java chip ice cream or coffee ice cream, is one of our favorite flavors ever. Honestly, who can say no to the combination of chocolate and coffee?
Especially when it comes with minimal sugar and tons of protein? It’s a dessert dream come true, and this ice cream with espresso comes together with five simple ingredients and is honestly foolproof to make! There’s no need to fuss with brewing hot espresso with an espresso machine or dealing with egg yolks.
Ingredients and Notes
Please be sure to scroll down to the recipe card below for the complete details!
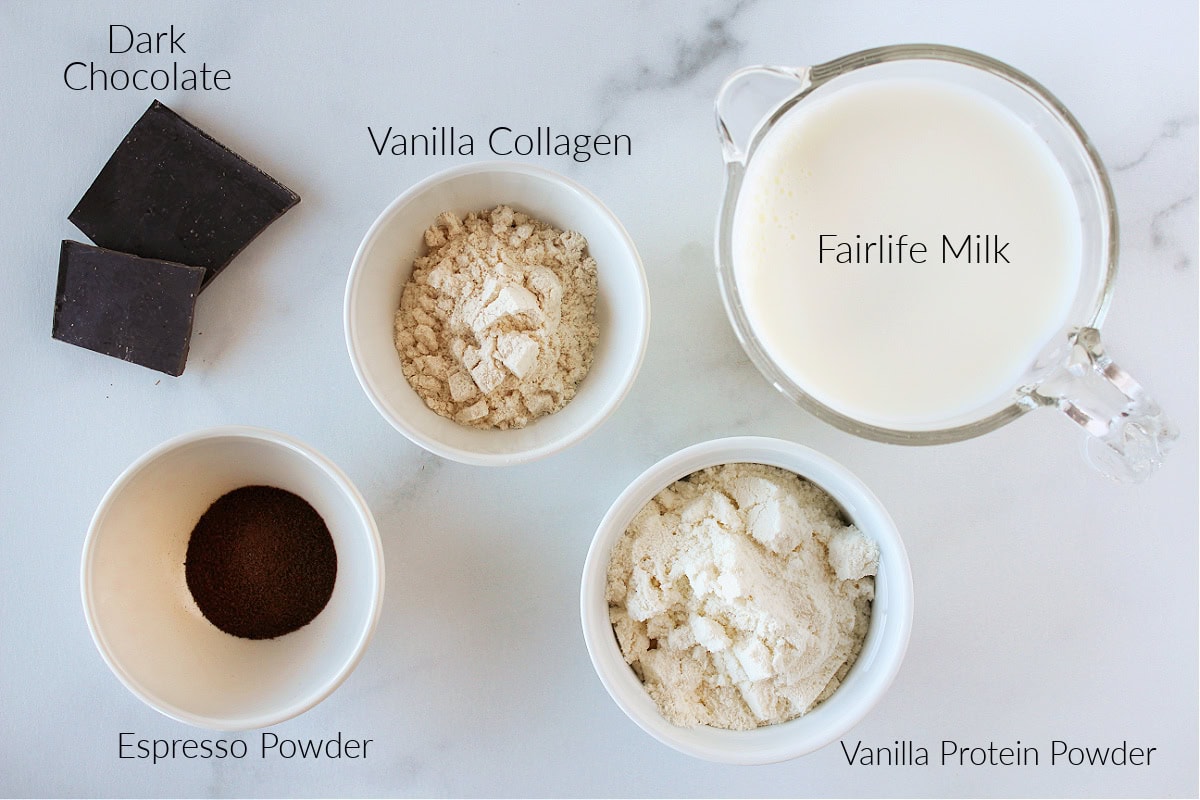
- Milk – We use Fairlife milk for added protein, but any kind will work. Whole milk or heavy cream will create the richest flavor and a super creamy consistency, but you can use any dairy or non-dairy milk you have on hand.
- Vanilla Protein Powder – We prefer whey protein, but plant-based protein also works well. Use whatever brand you like best!
- Vanilla Collagen – This adds even more protein and a subtle sweet vanilla flavor. If using flavorless collagen, add monk fruit sweetener to offset some of the bitterness of the espresso. Feel free to add a splash of vanilla extract, too.
- Espresso Powder – This infuses the ice cream with coffee flavor without making it watery. Use decaf espresso powder if preferred.
- Chocolate – We use a dark chocolate square or a dark chocolate bar, chopped into pieces. Chocolate chips don’t work well for this recipe. For a slightly sweeter taste, substitute milk chocolate, semi-sweet chocolate, or white chocolate instead.
How to Make Espresso Ice Cream with a Ninja Creami
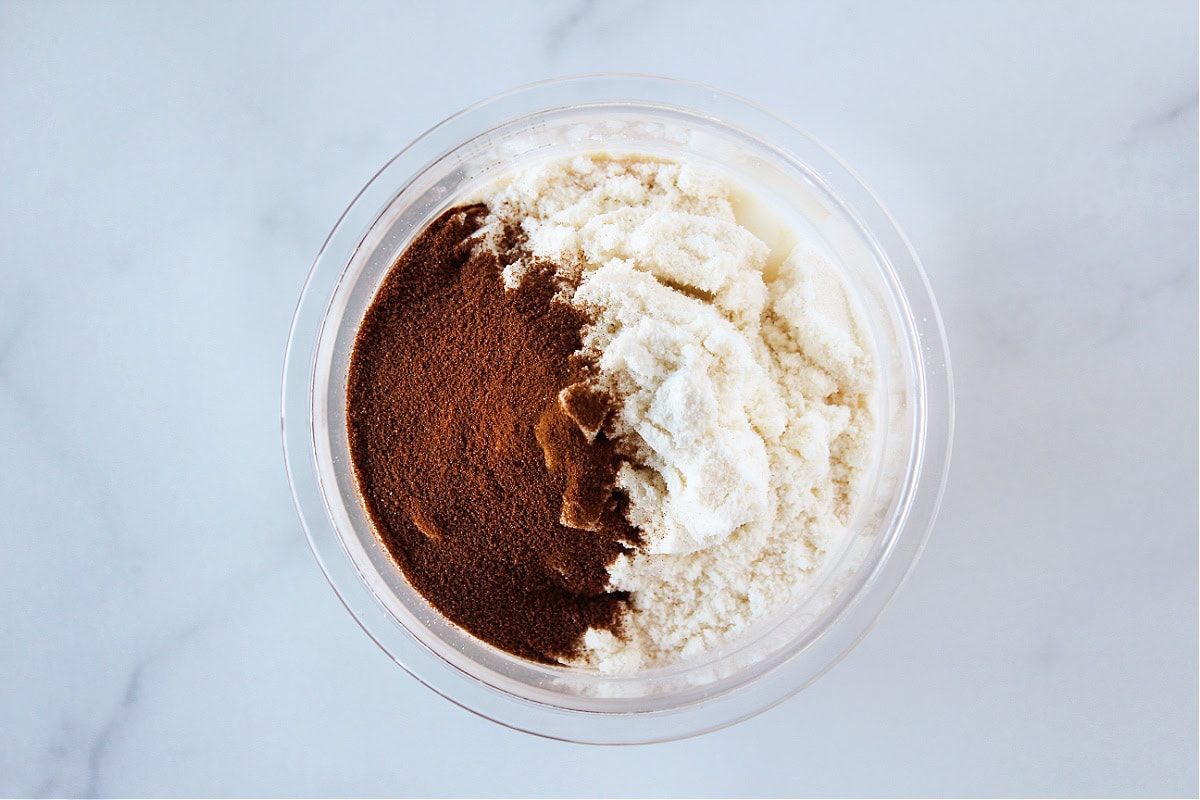
- Combine. Stir all the ingredients except the chocolate into a pint container, and blend the mixture with a stick blender or immersion blender. Transfer the mixture to the freezer overnight. Allow for at least 24 hours for the best results!

2. Spin. Thaw the ice cream at room temperature for a few minutes. Or, run it under warm water. Then, place the container in the outer bowl of the Ninja Creami and lock it into the device according to the manufacturer’s instructions. Use the “Lite Ice Cream’ function to blend, running the process twice.
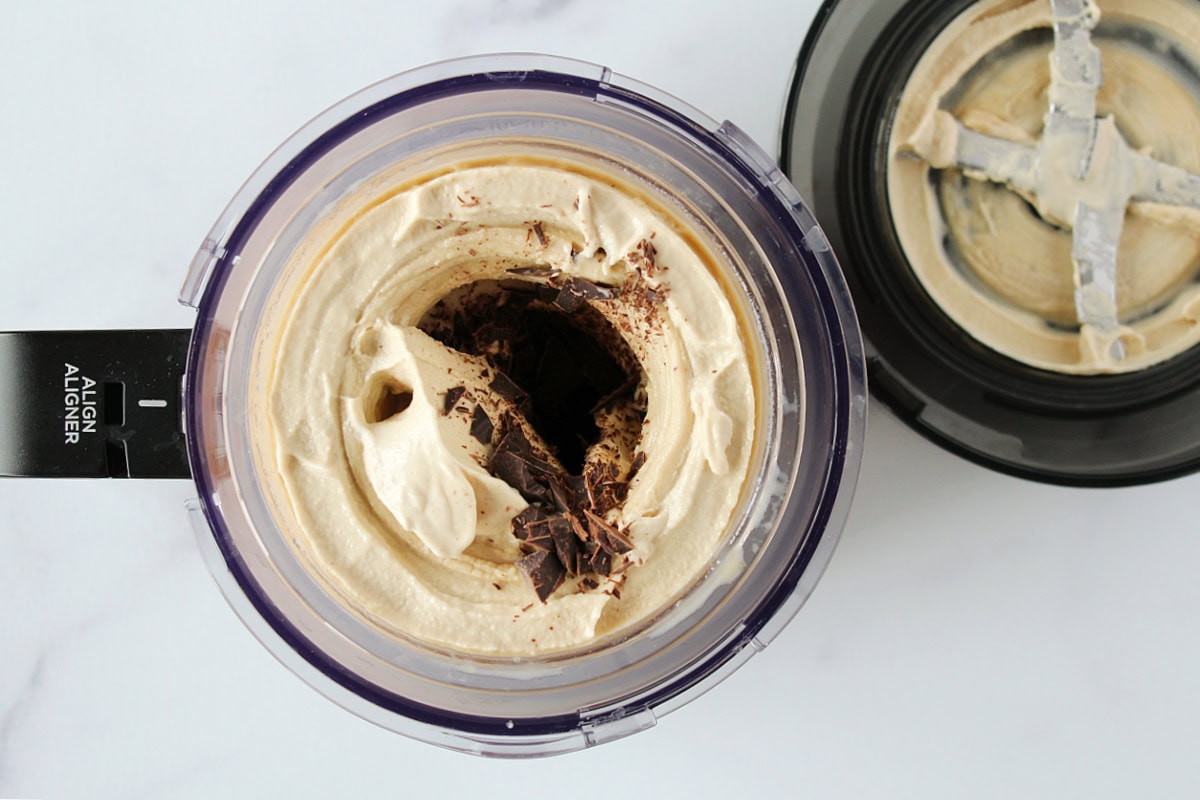
3. Add chocolate. Use a spoon to create a small well in the center of the container, add the chopped chocolate, and select the “Mix-In” function to blend. Enjoy!

Mix-Ins and Serving Ideas
We keep our espresso ice cream simple with just chocolate as a mix-in, but that doesn’t mean you can’t get creative! Some delicious additions include chopped nuts, coconut flakes, caramel sauce, or low-calorie brownie pieces.
We eat our ice cream straight from the pint, but it’s also delicious served in a bowl or cone with toppings. Or, spoon it over chocolate frosted brownies, a chocolate chip cookie protein cake, or gluten-free chocolate waffles.
For a fun treat, spoon it between one bowl chocolate chip cookies or oatmeal chocolate chip cookies for a cookie ice cream sandwich. Or, scoop your ice cream into a bowl or cup, and top it with espresso shots for an affogato-style dessert.
More Homemade Ice Cream Recipes

Ninja Creami Espresso Ice Cream Recipe
Equipment
Ingredients
Ice Cream
- 1 1/2 cups 2% Fairlife milk
- 1 serving (28-34 grams) vanilla whey protein powder (we use Peachie Spoon, “HappiHomemade” saves at checkout)
- 1 serving (20 grams) vanilla collagen (we use Yonder collagen, “HappiHomemade” saves at checkout)
- 2 teaspoons espresso powder
Mix-Ins
- 1 dark chocolate square or ½ ounce dark chocolate bar, chopped into small pieces (regular chocolate chips don’t work well unless chopped smaller)
Instructions
- Place all ice cream ingredients (NOT mix-ins) in a Ninja Creami pint container and mix with a stick blender until smooth. A handheld frother may be used if it has enough power.1 1/2 cups 2% Fairlife milk, 1 serving (28-34 grams) vanilla whey protein powder, 1 serving (20 grams) vanilla collagen , 2 teaspoons espresso powder
- Freeze the pint on a level surface in the freezer, with the lid off, for 24 hours (see notes). Freezing with the lid on creates a hump at the top of the ice cream. However, sometimes this happens no matter what.
- Remove the pint from the freezer and let it thaw for 10 minutes or run the sides of the container under warm water for 1-2 minutes. If the top of your ice cream is not flat, scrape down any bumps or uneven texture with a knife (see notes).
- Place the pint in the outer bowl of the Creami and lock the lid on top. Place the bowl assembly on the Creami motor base, twist the handle right to raise the platform, and lock it in place.
- Select the Lite Ice Cream function two times. You will need to unlock and lock the Creami bowl in between the two cycles.
- Use a spoon to create a small hole in the center, about 1½ inches wide. Place the dark chocolate pieces in the center. Lock the lid into place and select the Mix-In function.1 dark chocolate square or ½ ounce dark chocolate bar, chopped into small pieces
- Enjoy immediately!
Notes
Nutrition
Did you enjoy this Ninja Creami Espresso Ice Cream Recipe? We’d love it if you left a rating and review to let us know, and don’t forget to tag us in your recreations on Instagram!


If you love coffee and chocolate this ice cream is for you! I often eat it for lunch thanks to all the protein. It’s so creamy and delish!